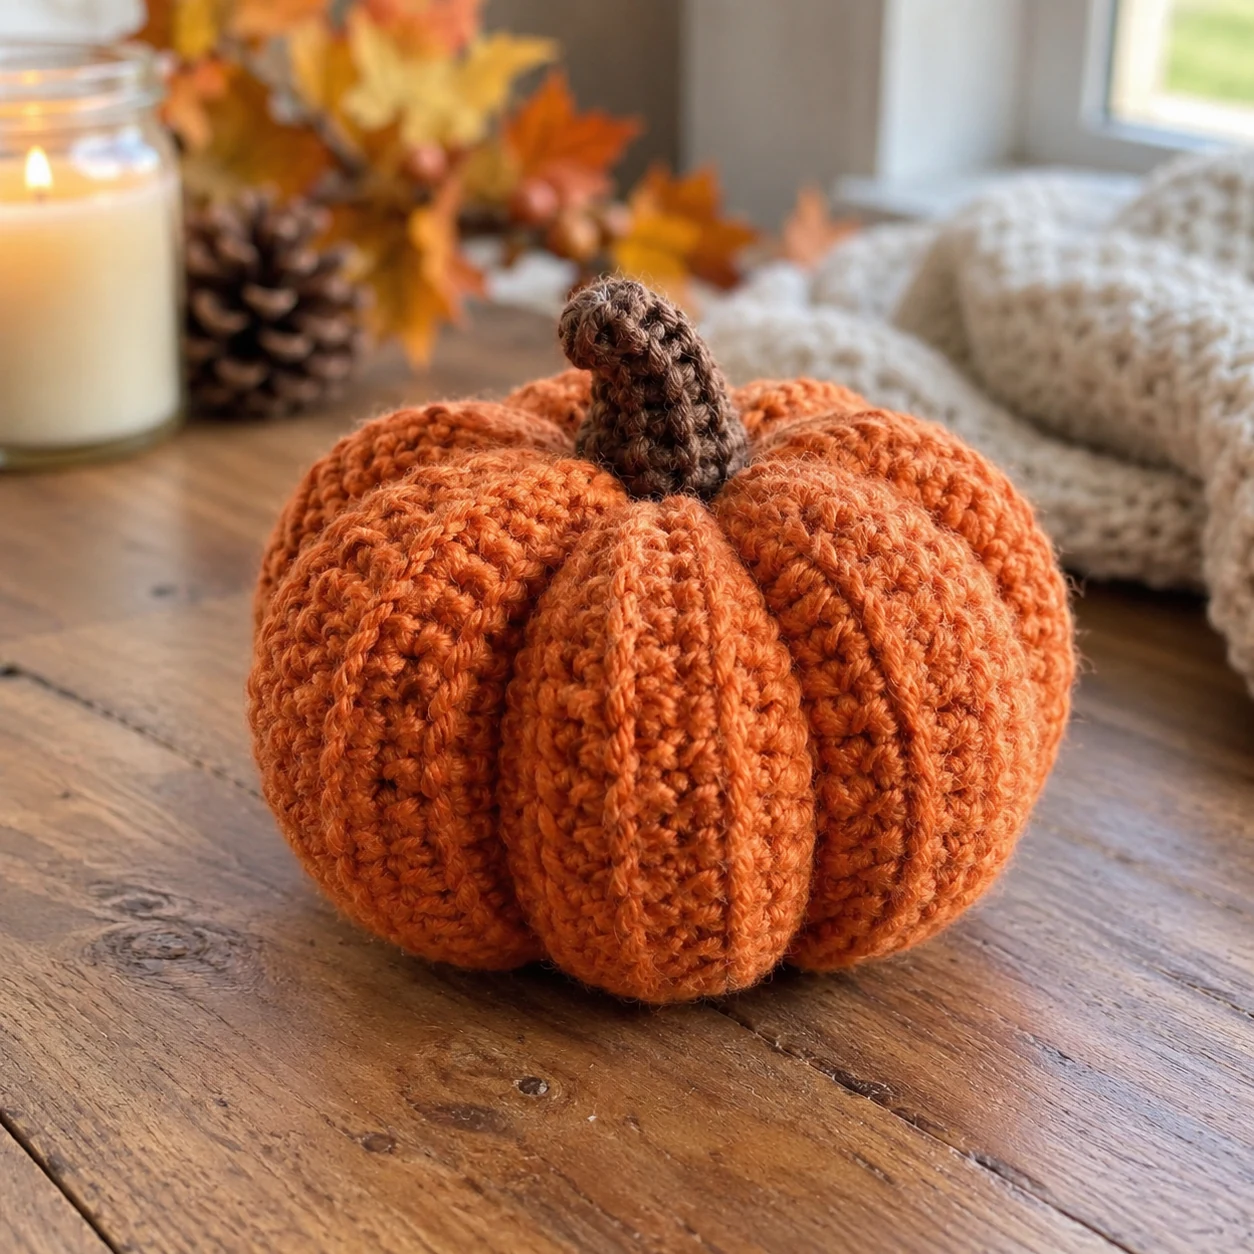
Crochet pumpkin pattern: this beginner project starts as a flat rectangle. The ribbed fabric is seamed into a tube, gathered at both ends, stuffed and gently pulled into pumpkin sections. You do not need a magic ring, increases or decreases for the pumpkin body.
How do you crochet an easy pumpkin?
Crochet a ribbed rectangle in single crochet through the back loop only. Join the short edges to make a tube, gather one end, add fiberfill, close the second end and pull yarn from top to bottom several times to shape the pumpkin sections. Finish by sewing a small crocheted stem to the top.
The simple construction makes this pattern a good first fall project. The rectangle does most of the work, while the gathering and shaping turn the flat fabric into a rounded pumpkin.
Use traditional orange for a classic look, or try cream, sage, rust, mustard or soft brown for a more neutral fall display. Once you understand the basic method, changing the rectangle size lets you make a whole set of pumpkins.
What you will find in this pattern
One rectangle becomes a crochet pumpkin
The pumpkin body is worked back and forth in rows. Every row after the first is crocheted through the back loop only. This creates raised ribs across the rectangle.
- ✓ Crochet one flat ribbed rectangle.
- ✓ Join the short sides to form a tube.
- ✓ Gather the bottom and add fiberfill.
- ✓ Close the top and shape 6 to 8 sections.
Once the rectangle is turned into a tube, the ribs run vertically around the pumpkin. That is what gives this simple pattern its textured fall look.
Materials for the crochet pumpkin
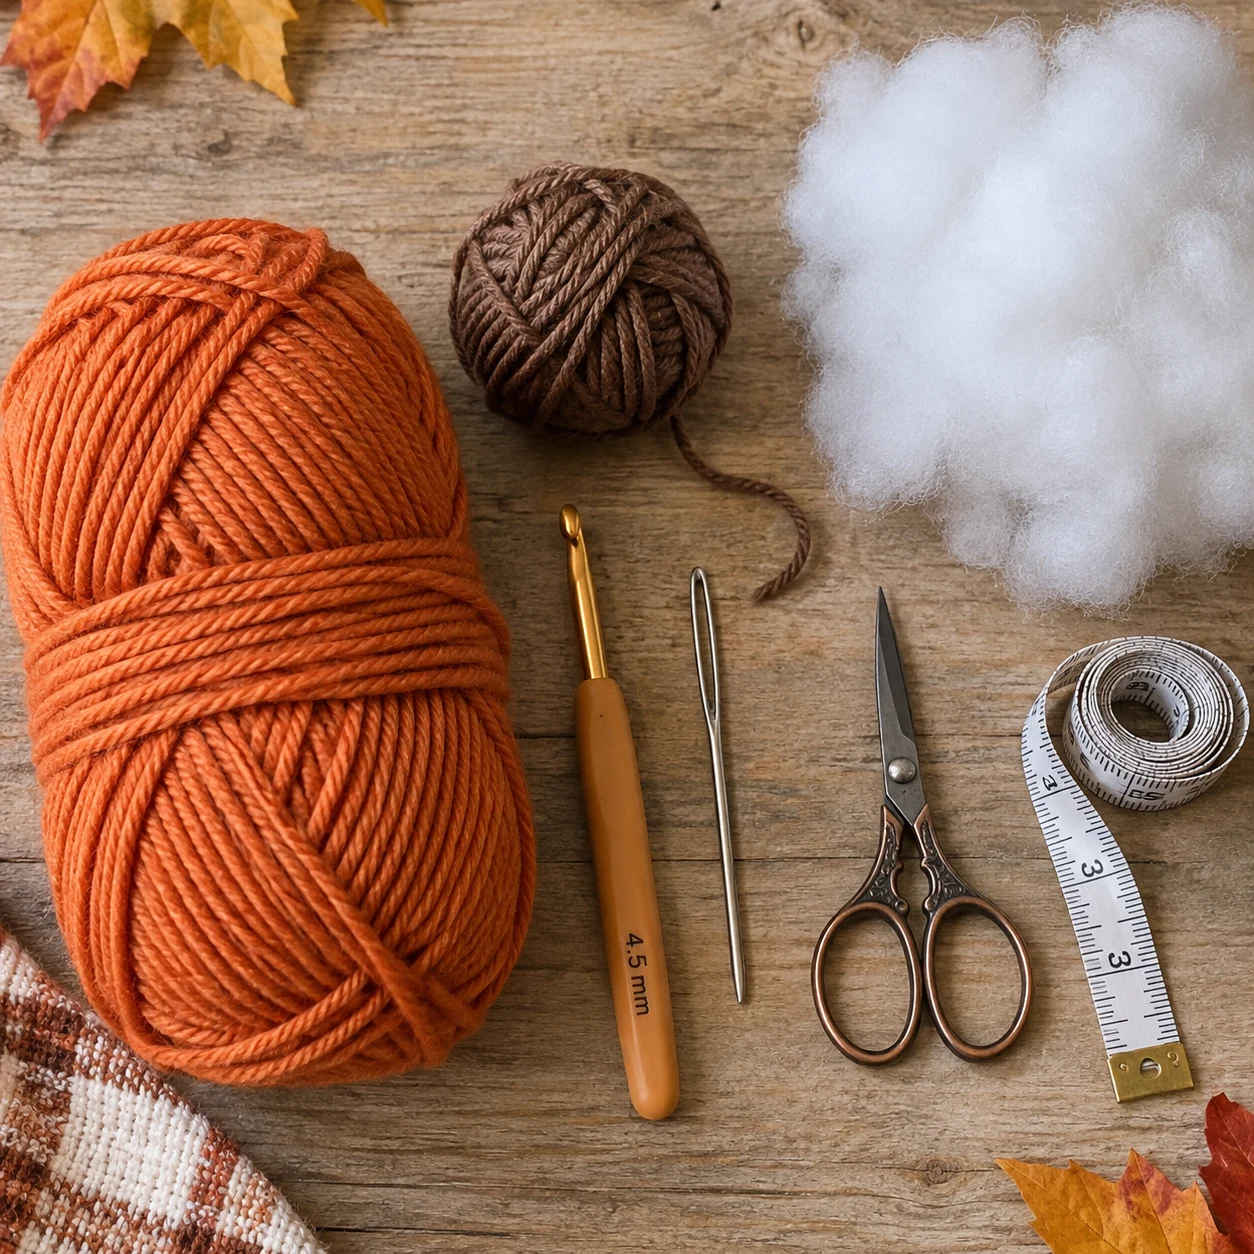
You will need
- 60 to 80 yd (55 to 73 m) medium weight #4 yarn
- small amount of brown yarn for the stem
- 4.5 mm crochet hook
- polyester fiberfill
- tapestry needle
- scissors
- measuring tape
Which yarn works best?
A smooth worsted weight yarn is easiest for beginners because the back loops are easy to see. Acrylic, cotton and smooth blends all work well. Very fuzzy yarn can hide the ribbing and make the stitches harder to count.
Orange gives the pumpkin a traditional fall look, but cream, oatmeal, sage, rust and mustard are also beautiful choices. If you make several pumpkins, using related colors creates a simple handmade fall collection.
Stitches and abbreviations
US crochet terms
- ch = chain
- sc = single crochet
- BLO = back loop only
- sl st = slip stitch
- st / sts = stitch / stitches
- rep = repeat
Single crochet in the back loop
Look at the top of a stitch and find the two loops that form a small V. Insert the hook under the loop farther away from you, then complete a normal single crochet. Repeating this across every row creates the raised ribbing.
Crochet pumpkin size and proportions
For the medium pumpkin in this tutorial, aim for a rectangle about 5 in (12.5 cm) high and 12 to 12.5 in (30.5 to 32 cm) long.
A useful starting proportion is to make the long edge about 2.5 times the short edge. Your exact finished size will vary with yarn thickness, hook size, tension and stuffing.
Easy crochet pumpkin pattern, step by step
Make the foundation chain
Chain 19. This chain controls the height of the pumpkin. Keep the chain relaxed so the first row does not pull inward.
Foundation: ch 19
Crochet the first row
Work one single crochet in the second chain from the hook and in every chain across. Chain 1 and turn. The turning chain does not count as a stitch.
Row 1: 18 sc
Start the ribbed texture
Work one single crochet through the back loop only of every stitch across. Chain 1 and turn.
Row 2: 18 sc BLO
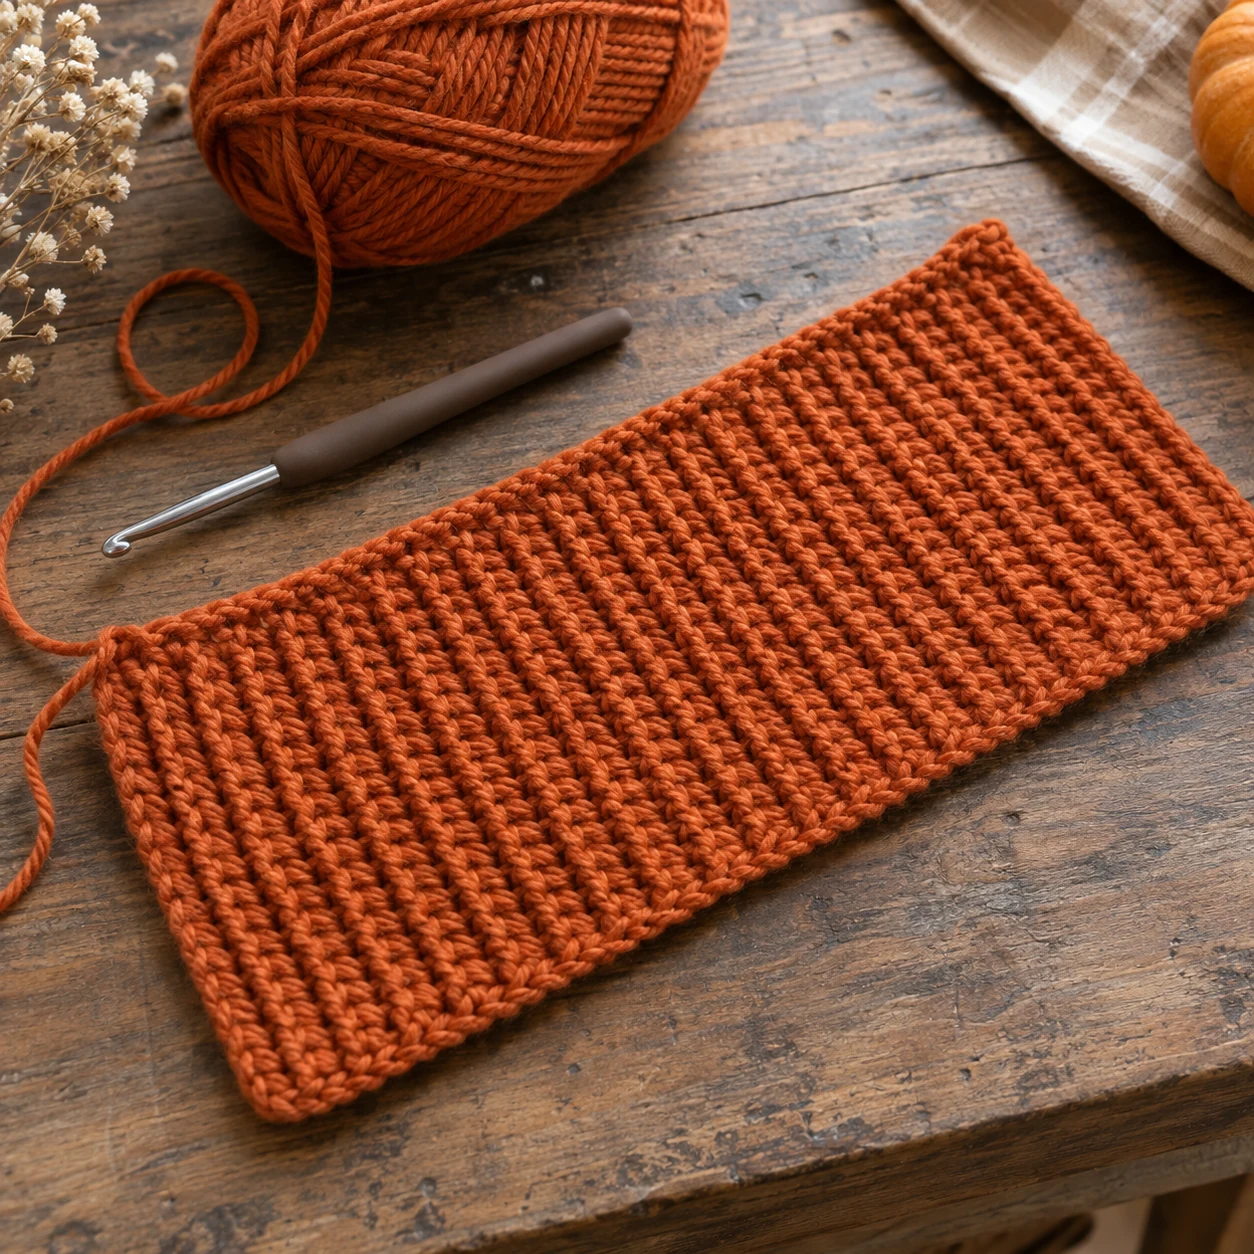
Continue until the rectangle is long enough
Repeat Row 2 until the long edge measures about 12 to 12.5 in (30.5 to 32 cm). Keep 18 stitches in every row so both edges stay straight.
Repeat Row 2 to about 12 to 12.5 in
Fasten off with a long tail
Cut the yarn and leave a tail about 30 in (75 cm) long. You can use this tail to seam the rectangle and help close one end.
Rectangle complete
Seam, gather and stuff the pumpkin
Join the short edges
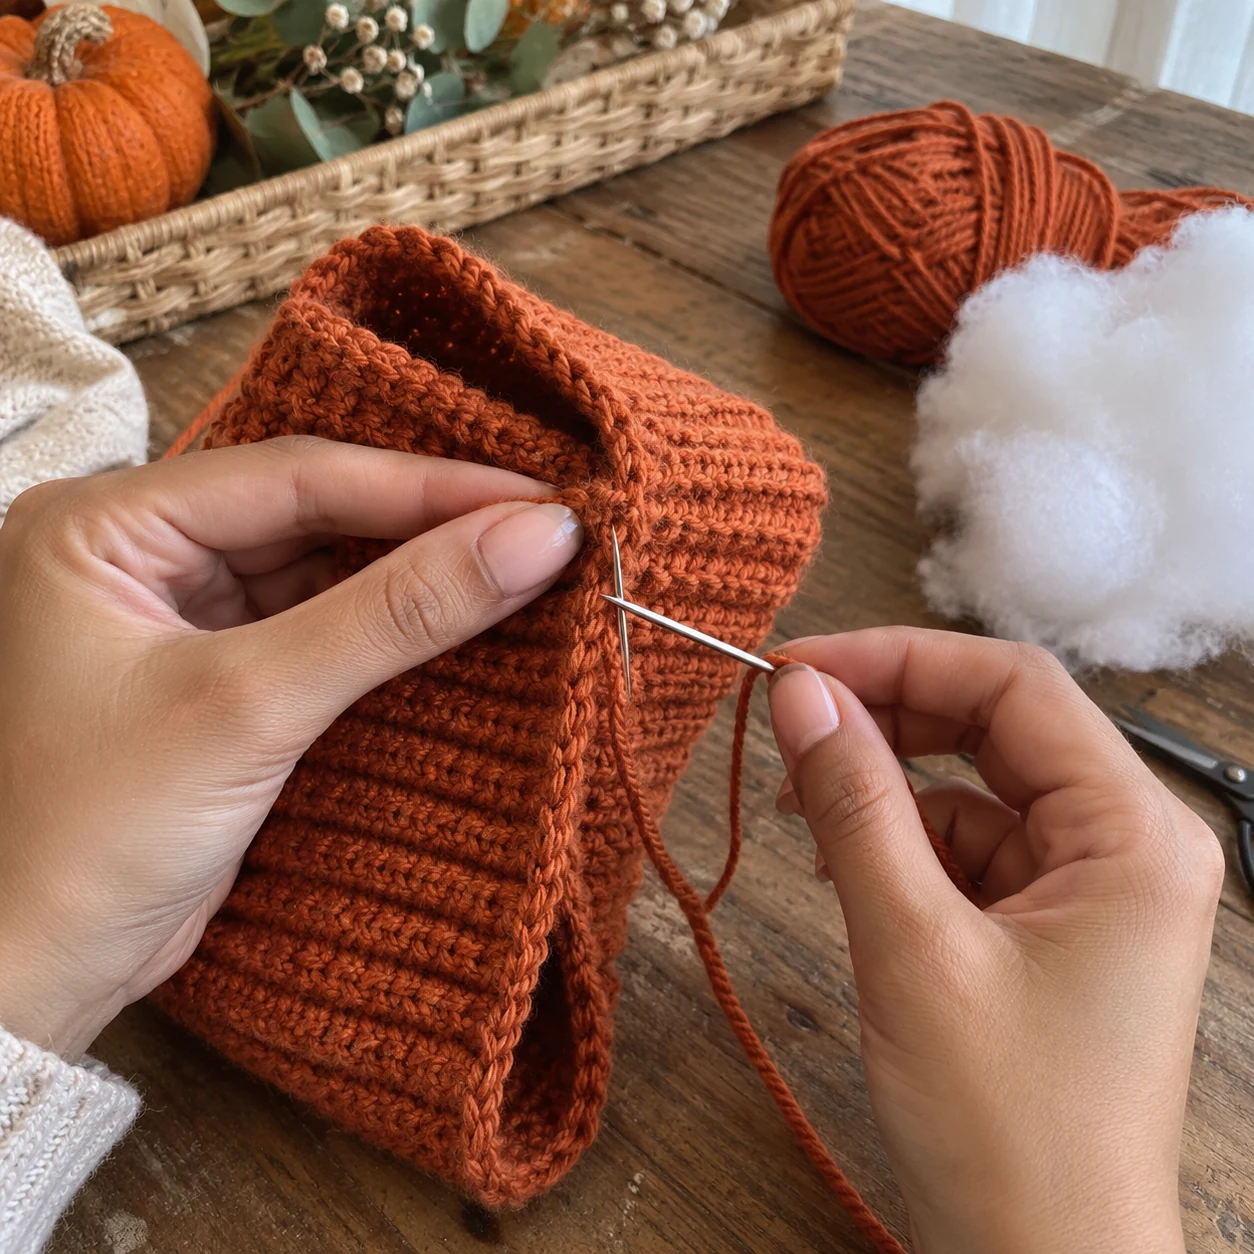
Bring the two short sides together and sew them with a whip stitch or mattress-style seam. Keep the seam secure without pulling so tightly that the fabric puckers. Turn the tube so the cleaner side faces outward.
Shape: one crochet tube
Gather the bottom
Thread matching yarn onto the tapestry needle and work a running stitch around one open edge. Pull the yarn gradually until the opening closes, then stitch across the center once more and secure it.
Bottom closed
Add the stuffing
Fill the tube with small amounts of fiberfill. Push the stuffing toward the sides as you work. Stop when the pumpkin feels plump but can still be compressed gently with your hands.
Stuff firmly but not tightly
Close the top
Work another running stitch around the open top. Tuck in any visible stuffing, pull the yarn until the opening closes and secure the center with several stitches.
Pumpkin body closed
Shape the pumpkin sections
Pull yarn through the center
Thread a strong length of matching yarn onto the tapestry needle. Insert the needle through the bottom center and bring it out through the top center.
Start at the center
Create 6 to 8 grooves
Take the yarn down the outside of the pumpkin and pass the needle through the bottom center again. Bring it back through the top and pull gently. Repeat around the pumpkin, spacing the strands evenly.
6 to 8 sections
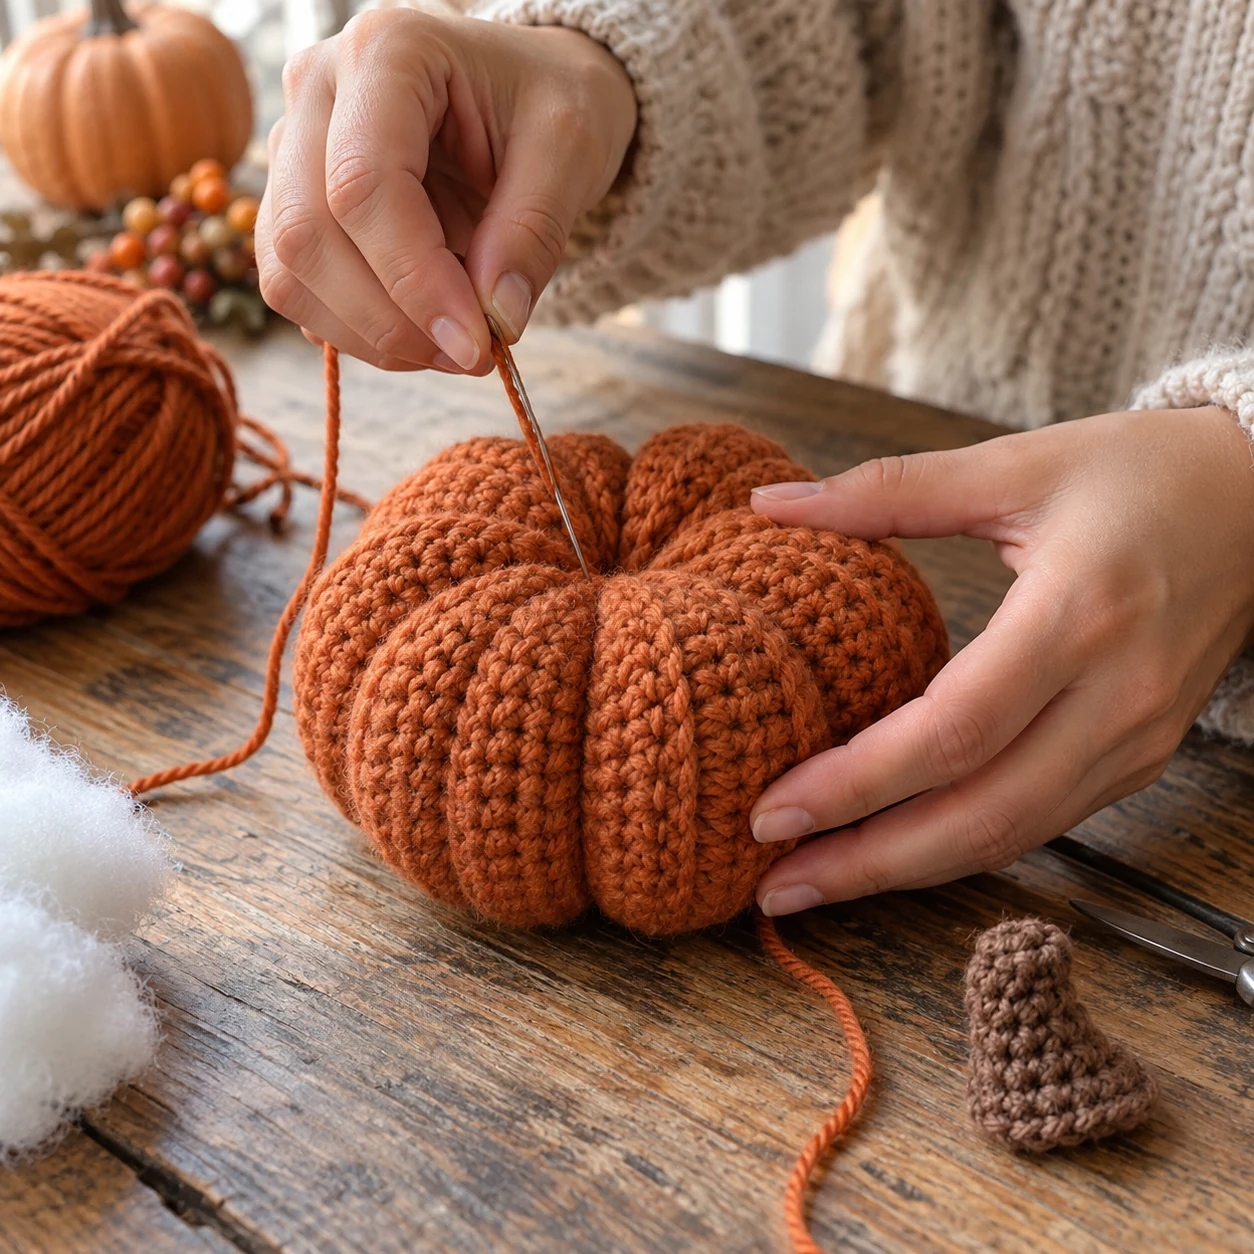
Do not pull one section extremely tight before shaping the others. Work around the pumpkin in stages, then adjust the tension until the sections look balanced.
Crochet a simple pumpkin stem
Make a tiny brown rectangle
Chain 7. Single crochet in the second chain from the hook and across for 6 stitches. Chain 1 and turn. Work 3 more rows of single crochet through the back loop only.
4 rows of 6 sc
Roll and sew the stem
Fasten off with a long tail. Roll the small rectangle into a short cylinder and stitch through the layers to hold the shape. Sew the stem securely over the top center of the pumpkin.
Stem complete
If the pumpkin is only for adult home decor, you can replace the crocheted stem with a clean twig or cinnamon stick. Avoid loose or rigid decorative pieces on items intended for small children.
Common crochet pumpkin mistakes
The rectangle gets narrower
You are probably missing the last stitch of some rows. Count occasionally and keep 18 stitches across.
The ribs are hard to see
Check that every row after Row 1 is worked through the back loop only. Smooth yarn also shows the texture more clearly.
Stuffing shows through
Your tension may be too loose or the pumpkin may be overfilled. Try a slightly smaller hook or remove some fiberfill.
The pumpkin looks uneven
Space the shaping strands before tightening them fully. Adjust each groove gradually until the sections look balanced.
Frequently asked questions about crochet pumpkins
Is this crochet pumpkin pattern suitable for beginners?
Yes. The body is made from a flat rectangle using chain stitches and single crochet through the back loop. No magic ring, body increases or body decreases are required.
What yarn should I use for a crochet pumpkin?
Medium weight #4 yarn is an easy choice for this version. Smooth acrylic, cotton or blended yarns make the stitches and ribbing easy to see.
Can I make the pumpkin bigger?
Yes. Make a larger rectangle while keeping the long edge roughly 2.5 times the short edge, or use a thicker yarn and suitable hook.
Why do I use the back loop only?
Back loop only crochet creates the raised ribs. After the rectangle is assembled, those ribs run vertically and help the finished pumpkin look textured.
How much should I stuff the pumpkin?
Add enough fiberfill for a plump rounded shape, but keep the body slightly flexible. Overstuffing makes the shaping step more difficult.
How many pumpkin sections should I make?
Six to eight sections usually look balanced on a medium pumpkin. You can use fewer or more depending on the size and style you prefer.
Quick pattern to save
- Chain 19.
- Row 1: single crochet in second chain from hook and across, 18 sc.
- Row 2: 18 sc BLO, chain 1 and turn.
- Repeat Row 2 until the rectangle measures about 12 to 12.5 in long.
- Seam the short edges to make a tube.
- Gather and close the bottom.
- Add fiberfill.
- Gather and close the top.
- Use matching yarn to create 6 to 8 pumpkin sections.
- Crochet, roll and attach the brown stem.
Rimraam tip
Make your first pumpkin in a smooth medium weight yarn and measure the rectangle before sewing. If you like the finished shape, write down the yarn, hook and rectangle size. You can then repeat the same proportions in several fall colors.
A simple rectangle for cozy fall decor
Once you know the ribbed rectangle method, one basic crochet idea can become a whole collection of handmade pumpkins in different colors and sizes.
Note: finished size, yarn use and working time are approximate and can vary with yarn, hook size, tension and stuffing. Decorative pieces should be attached securely and are not intended as toys for small children.
Video tutorial for the rectangle crochet pumpkin
If you prefer to watch the construction before you start, this English step-by-step tutorial shows the same basic rectangle method, including back loop ribbing, seaming, gathering, stuffing, shaping and adding a stem.
Video: external English-language tutorial on YouTube. The Rimraam written pattern above remains the main pattern for this project.