
Beginner
4 mm
About 7 in tall
US Crochet
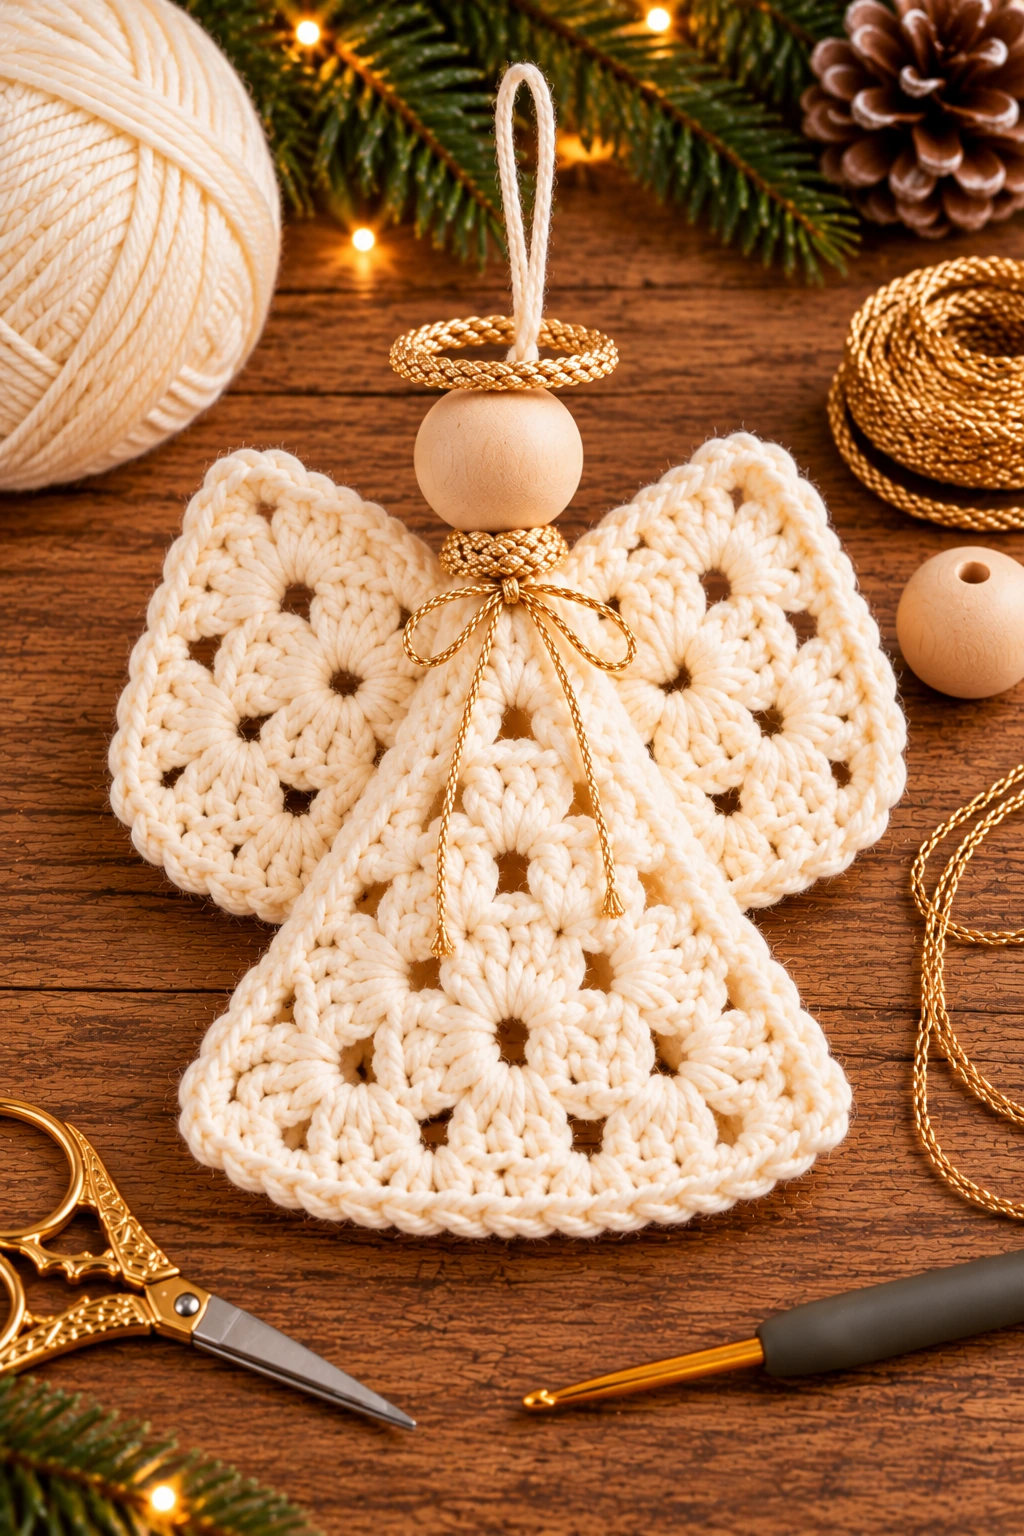
Crochet angel from 2 granny squares: this simple Christmas ornament begins with two matching cream granny squares. One square becomes the skirt and front body, while the second square is folded to create the two wings. A wooden bead forms the head, and a metallic cord becomes the halo, bow and hanging loop.
How do you make a crochet angel from two granny squares?
Crochet two identical granny squares, fold one square diagonally to form the angel’s body and skirt, then fold the second square so its corners open outward as wings. Secure the pieces together at the center, thread a hanging cord through a wooden bead for the head, add a gold halo and tie a small decorative bow around the neck.
This is a useful project when you want a Christmas decoration that looks detailed but does not require complicated shaping. The crochet work is completely flat, so there is no amigurumi stuffing and no difficult decrease sequence to follow.
The finished angel works beautifully as a Christmas tree ornament, gift topper, window decoration or handmade keepsake. Make several in cream for a classic look, or try white, gold, silver, blush pink or soft sage yarn for a different holiday style.
What you will find in this pattern
Two squares, one elegant Christmas angel
The entire crochet section is made from two matching granny squares. This keeps the pattern easy to memorize and makes it simple to adjust the final size by adding or removing a round.
- ✓ Square 1 becomes the skirt and body.
- ✓ Square 2 becomes the two wings.
- ✓ A wooden bead creates the head.
- ✓ Gold cord forms the halo, bow and hanging loop.
Materials for the granny square angel
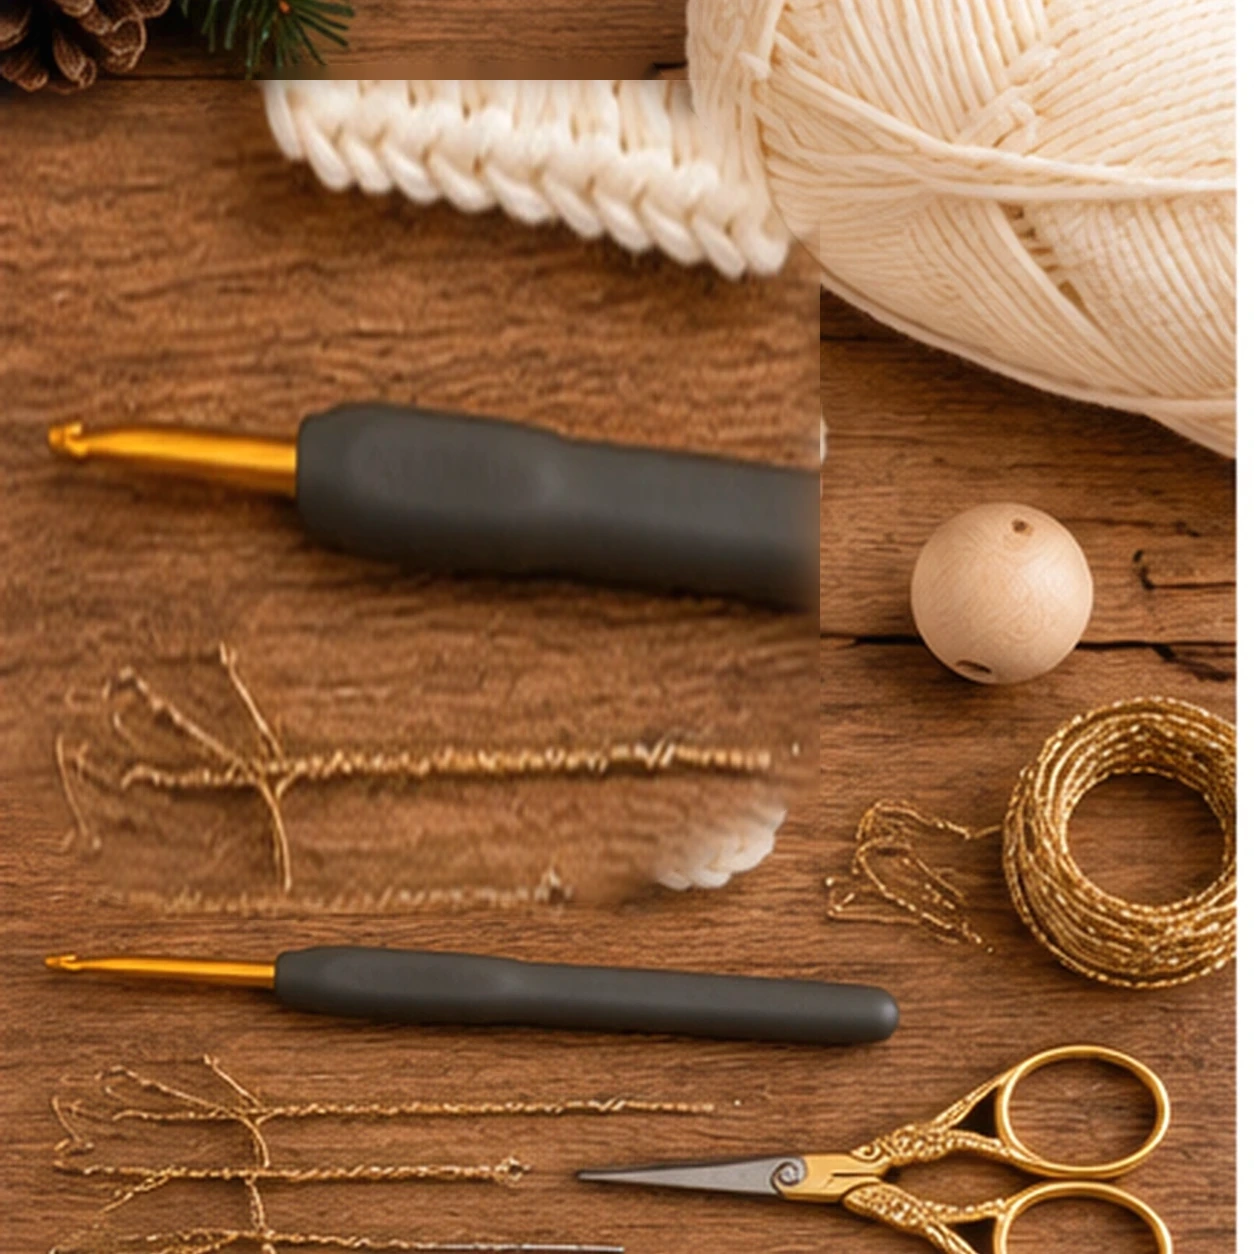
You will need
- 60 to 80 yd (55 to 73 m) medium weight #4 cream or white yarn
- 4 mm crochet hook
- 1 unfinished wooden bead, approximately 25 to 30 mm
- metallic gold cord for halo and bow
- cream cord or yarn for the hanging loop
- tapestry needle
- scissors
- optional pins for positioning the folds
Yarn choice
Cotton and cotton-acrylic blends give the angel enough structure to hold its folds. If you use a very soft acrylic yarn, lightly steam or wet block the two squares before assembly.
Stitches and abbreviations
US crochet terms
- ch = chain
- sl st = slip stitch
- sc = single crochet
- dc = double crochet
- sp = space
- st / sts = stitch / stitches
Pattern notes
The two squares must be the same size. Crochet them with the same yarn, hook and tension.
Chain spaces form the open lace sections and make the finished angel lighter and easier to fold.
The abbreviations in this pattern follow standard US crochet terminology. You can also review the Craft Yarn Council crochet abbreviations.
Crochet two matching granny squares

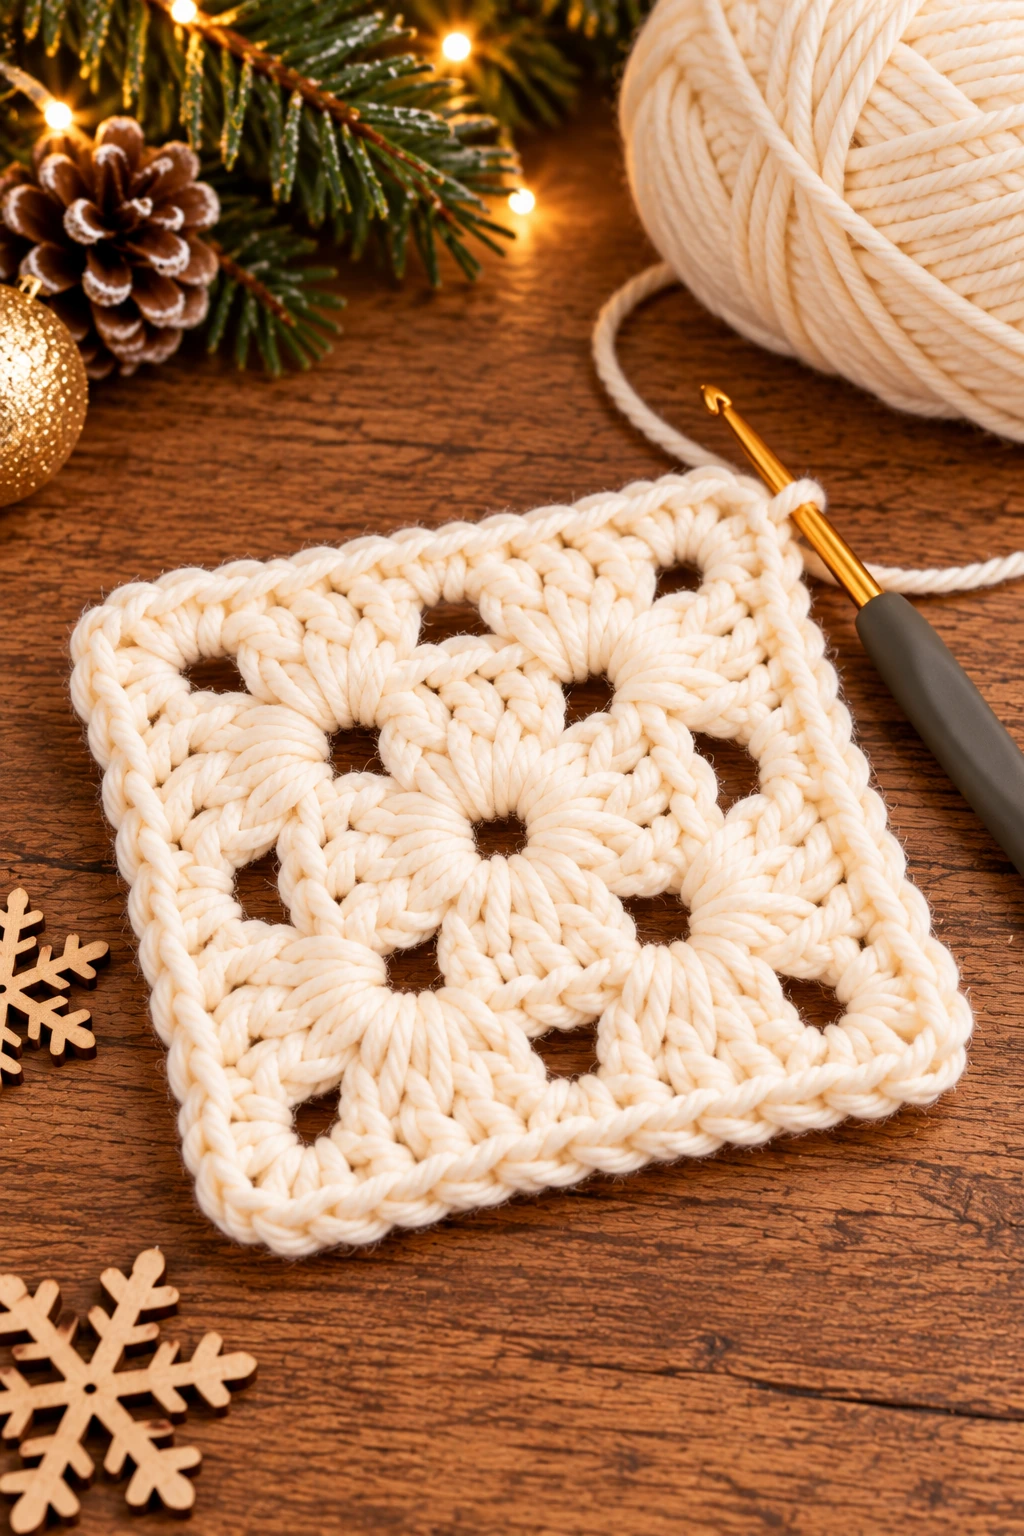
Granny Square – make 2
Round 1: ch 4 and join with sl st to form a ring. Ch 3, work 2 dc into the ring, ch 2. Work (3 dc, ch 2) three more times into the ring. Join with sl st to the top of the beginning ch 3.
Round 2: sl st into the first corner space. Ch 3, 2 dc, ch 2, 3 dc in the same corner. In each remaining corner work 3 dc, ch 2, 3 dc. Join with sl st.
Round 3: sl st to the first corner. Work 3 dc, ch 2, 3 dc in each corner. Work 3 dc in each side space between corners. Join with sl st.
Round 4: repeat the same pattern, working 3 dc, ch 2, 3 dc in each corner and 3 dc in every side space. Join, fasten off and weave in the ends.
Fold the granny squares into the angel shape

Square 1: body and skirt
- Place the first granny square on the table like a diamond, with one corner pointing upward.
- Bring the left and right corners slightly toward the center so the lower section forms a wide bell shape.
- Overlap the upper sides just enough to create a narrow neck area.
- Secure the folds with a few small stitches using matching cream yarn.
Square 2: wings
- Place the second square behind the body like a diamond.
- Fold the lower and upper corners gently toward the center while leaving the left and right corners open.
- Angle the left and right corners upward until they resemble symmetrical angel wings.
- Pin the center of the wing square directly behind the neck of the body square.
Look at the ornament straight on before sewing. The outer tips of both wings should sit at approximately the same height.
Add the head, halo and hanging loop
- Join the crochet pieces: sew through the center of the folded wing square and the narrow top of the body square several times.
- Create the hanging loop: cut a length of cream yarn or cord, fold it in half and thread both ends through the hole in the wooden bead.
- Attach the head: pull the bead down until it rests firmly above the crochet body. Secure the cord to the crochet fabric underneath the bead.
- Make the halo: form metallic gold cord into a small ring slightly wider than the wooden bead. Stitch or tie it securely behind the bead so it sits above the head.
- Add the bow: wrap a short length of gold cord around the neck and tie a small bow at the front.
- Final shaping: spread the wings evenly, open the lower skirt and adjust the halo until the angel hangs straight.
Easy ways to customize your crochet angel
Change the yarn color
Use white for a snowy angel, gold for a festive ornament, soft pink for a nursery keepsake or sage green for a modern Christmas palette.
Make a smaller angel
Stop after Round 3 of each granny square and use a smaller wooden bead. This makes a lighter ornament for thin Christmas tree branches.
Add a little sparkle
Use yarn with a subtle metallic thread or add a thin strand of gold yarn around the final granny-square round.
Keep the head simple
A natural wooden bead gives the ornament a clean handmade look. You can leave it completely blank rather than drawing a face.
Common mistakes and how to fix them
The squares are different sizes
Block them together before assembly. If one is still noticeably larger, use the larger square for the skirt and the smaller one for the wings.
The wings droop
Move the wing attachment point slightly higher and add two or three extra securing stitches through the center fold.
The wooden bead tilts
Make sure the hanging cord passes through the center of the bead and is secured at the exact center of the crochet neck.
The skirt looks flat
Open the lower fold gently with your fingers and lightly steam or wet block the finished angel while maintaining the bell shape.
More crochet projects from Rimraam
Frequently asked questions about granny square angels
Is this crochet angel suitable for beginners?
Yes. If you can chain, double crochet and make a basic granny square, the crochet portion is beginner-friendly. The assembly requires only simple folding and hand sewing.
Do I really need two granny squares?
Yes for this version. One square forms the body and skirt, while the second square creates the two wings.
What size wooden bead should I use?
A bead around 25 to 30 mm works well with four-round granny squares made from medium weight yarn. Adjust the bead size if you change the scale of the squares.
Can I make the angel without metallic cord?
Yes. Use a contrasting yarn, ribbon or thin jute cord for the halo and bow.
Can I use this as a gift topper?
Yes. Shorten the hanging loop and tie the angel directly onto ribbon around a wrapped Christmas gift.
Quick pattern to save
- Crochet two identical four-round granny squares in cream yarn.
- Block both squares to the same size.
- Fold the first square into a bell-shaped skirt and narrow neck.
- Fold the second square so its left and right corners form wings.
- Sew the two folded squares together at the center.
- Thread the hanging loop through a wooden bead and secure the bead above the body.
- Form a small gold halo and attach it behind the head.
- Tie a gold bow around the neck and shape the wings and skirt.
Rimraam tip
Do not sew the folds immediately. Pin the body and wings first, add the wooden bead temporarily and hold the ornament by the hanging loop. This makes it much easier to see whether the angel hangs straight before you secure everything permanently.
A simple handmade angel for Christmas
Two granny squares, one wooden bead and a little gold cord are enough to create an elegant ornament you can hang on the tree or add to a handmade gift.
Helpful granny square angel video tutorial
For another visual reference, this English-language tutorial from Naztazia shows how a granny-square-style angel ornament is assembled. The exact square construction and finishing details differ from the Rimraam version above, so use the written instructions here for this specific two-square angel.
Video: external English-language tutorial on YouTube. The Rimraam written instructions above remain the main pattern for this project.