
Advanced Beginner
5 mm
About 8 in wide
US Crochet
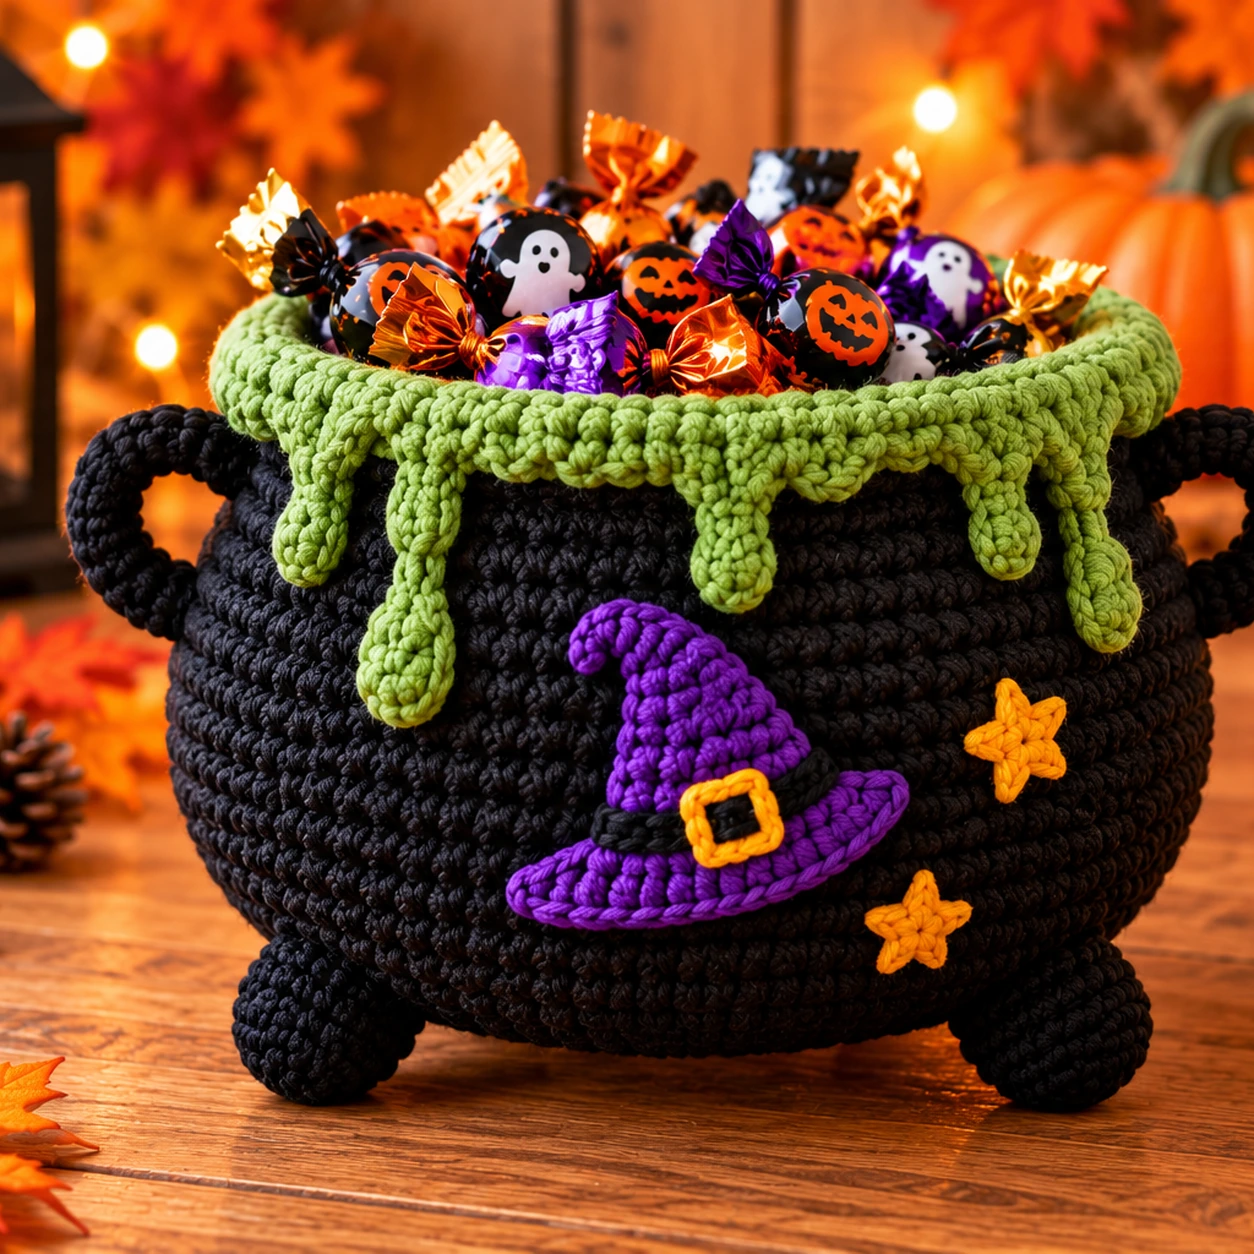
Crochet cauldron pattern: this Halloween project begins with a round black base and grows upward into a deep bowl. A slightly wider top edge creates the classic cauldron rim, while separate loop handles and three stuffed feet give it a sturdy witchy shape. Finish the top with bright green slime drips and fill it with crochet potion bubbles or wrapped candy.
How do you crochet a Halloween cauldron?
Start with a flat black circle, crochet upward in continuous single crochet rounds and decrease slightly near the top to create a rounded pot shape. Increase again for the flared rim, then make two loop handles and three small feet separately. Add a green crochet slime trim around the top and fill the finished cauldron with small purple and green crochet balls or wrapped Halloween treats.
The main body uses only basic amigurumi shaping, so the project looks more complicated than it actually is. The separate handles and feet are small pieces, and the green drips are crocheted directly around the rim.
Use the finished cauldron as a Halloween candy bowl, shelf decoration, centerpiece or container for small handmade gifts. You can keep the design simple with just black and green yarn, or add purple potion bubbles and a small witch-hat applique for extra color.
What you will find in this pattern
A classic cauldron made from simple crochet shapes
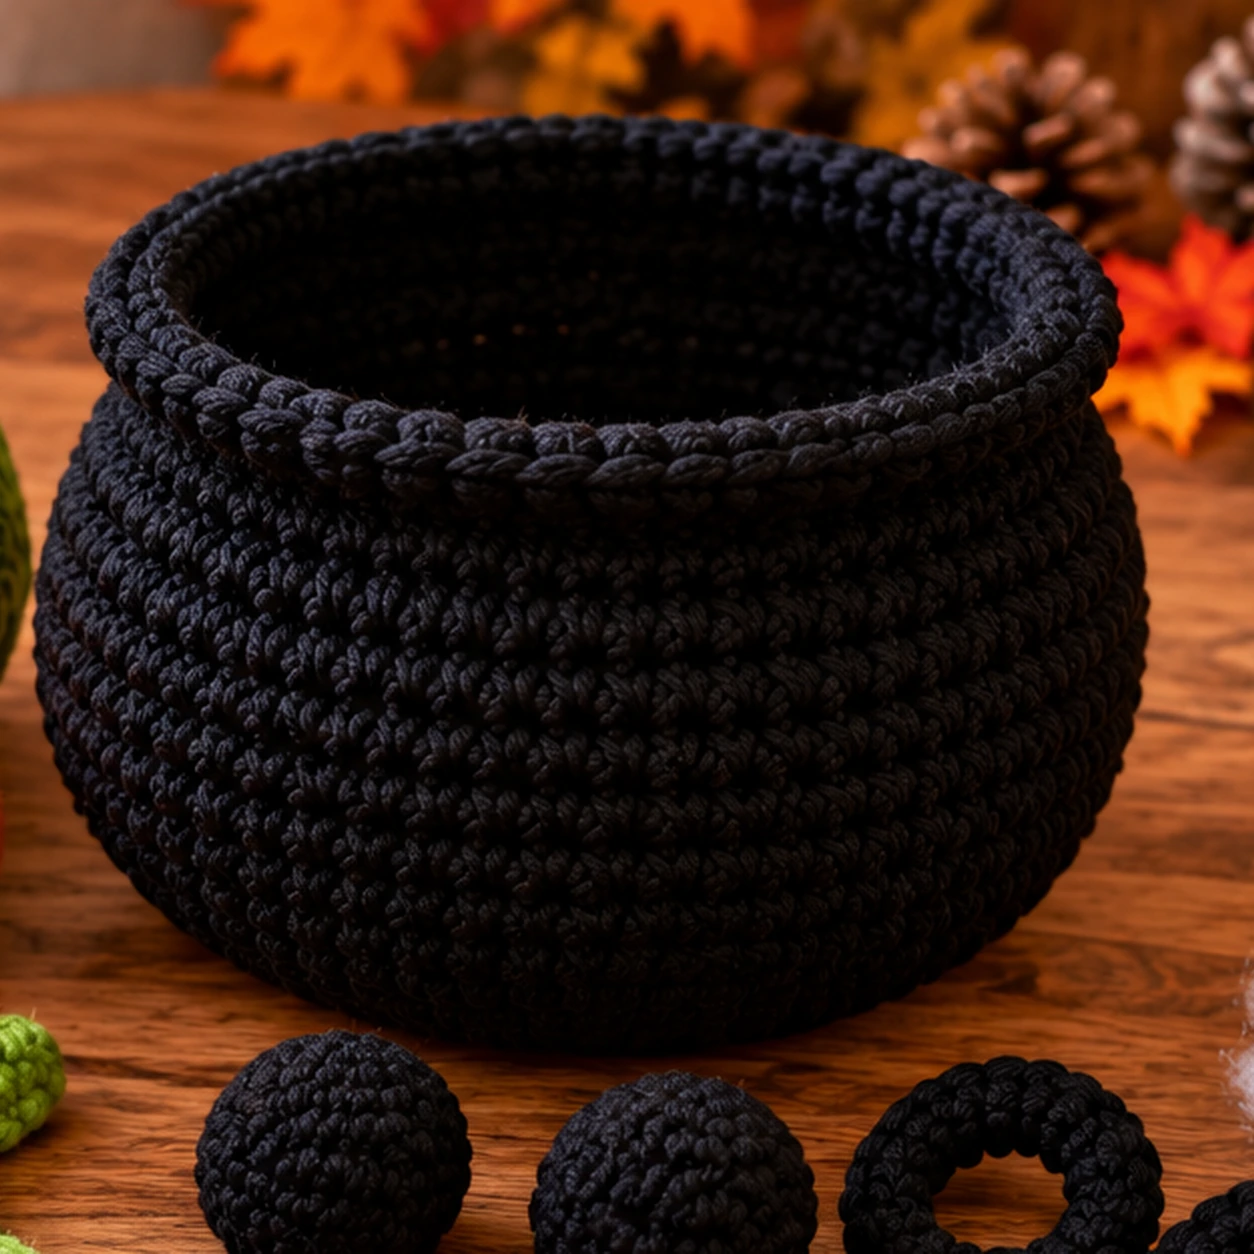
The black pot is crocheted as one piece from the center of the base upward. Three stuffed feet create a stable tripod underneath, and two small loop handles are sewn to opposite sides near the rim.
- ✓ Flat circular base starts the main body.
- ✓ Shaping rounds create the rounded pot.
- ✓ Three feet and two handles are sewn on separately.
- ✓ Green drips are added directly around the rim.
Materials for the crochet cauldron
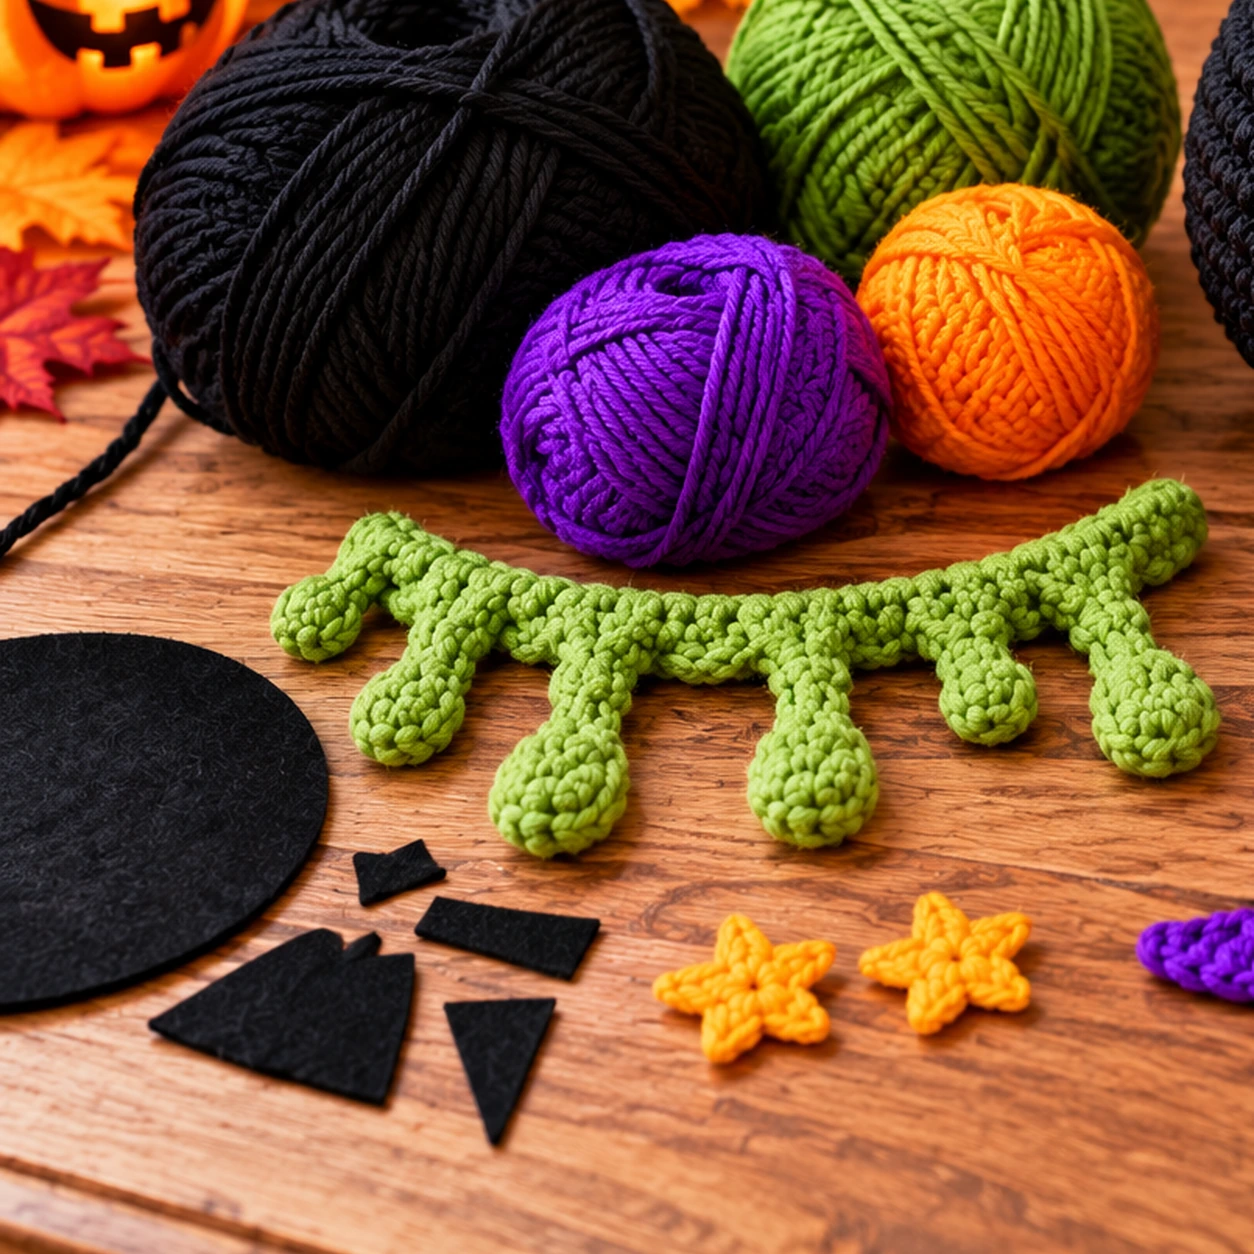
You will need
- 160 to 200 yd (146 to 183 m) medium weight #4 black yarn
- 25 to 35 yd (23 to 32 m) bright green yarn
- small amount of purple yarn for potion bubbles or an optional hat
- small amount of yellow or orange yarn for optional details
- 5 mm crochet hook
- polyester fiberfill for the feet and potion bubbles
- stitch marker
- tapestry needle
- scissors
Which yarn works best?
Cotton, recycled cotton and firm acrylic blends are good choices. Avoid very fuzzy yarn because it can hide the shaping and make the green slime details less defined.
Stitches and abbreviations
US crochet terms
- MR = magic ring
- ch = chain
- sc = single crochet
- inc = 2 sc in the same stitch
- dec = invisible single crochet decrease
- sl st = slip stitch
- BLO = back loop only
- st / sts = stitch / stitches
Pattern notes
The cauldron body is worked in continuous spiral rounds. Move your stitch marker to the first stitch of every round.
The rim is intentionally wider than the upper body to give the finished piece a classic flared cauldron silhouette.
The abbreviations follow standard US crochet terminology. You can also review the Craft Yarn Council crochet abbreviations.
Finished size and gauge
With medium weight #4 yarn and a 5 mm hook, the finished cauldron measures approximately 7.5 to 8.5 in (19 to 21.5 cm) wide across the body and about 6 to 7 in (15 to 18 cm) high, not including tall potion bubbles.
Exact gauge is not essential, but the fabric should be firm enough that the sides stand upright without collapsing.
Crochet the cauldron body
Use black yarn. Begin at the center of the bottom and work upward in a continuous spiral.
Round 1: 6 sc in MR. (6)
Round 2: inc in each st around. (12)
Round 3: (1 sc, inc) x 6. (18)
Round 4: (2 sc, inc) x 6. (24)
Round 5: (3 sc, inc) x 6. (30)
Round 6: (4 sc, inc) x 6. (36)
Round 7: (5 sc, inc) x 6. (42)
Round 8: (6 sc, inc) x 6. (48)
Round 9: (7 sc, inc) x 6. (54)
Round 10: BLO sc in each st around. (54)
Rounds 11 to 16: sc in each st around. (54)
Round 17: (7 sc, dec) x 6. (48)
Rounds 18 to 19: sc in each st around. (48)
Round 20: (6 sc, dec) x 6. (42)
Round 21: sc in each st around. (42)
Round 22: (6 sc, inc) x 6. (48)
Round 23: (7 sc, inc) x 6. (54)
Round 24: sc in each st around. (54)
Finish: sl st to the next stitch, fasten off and weave in the yarn end.
Crochet the handles and feet

Loop handles – make 2
Foundation: ch 24 and join with sl st to the first chain, making sure the chain is not twisted.
Round 1: work 30 sc evenly around the chain ring.
Join with sl st and fasten off with a long sewing tail. Flatten each ring slightly before attaching it to the sides of the cauldron.
Feet – make 3
Round 1: 6 sc in MR. (6)
Round 2: inc in each st around. (12)
Round 3: sc in each st around. (12)
Round 4: (1 sc, dec) x 4. (8)
Stuff lightly and fasten off with a long sewing tail.
Sew the handles to opposite sides of the pot just below the flared rim. Attach the three feet evenly around the underside of the base, forming a stable triangle.
Add the green slime trim and potion bubbles
Join bright green yarn to any stitch on the final black rim.
Slime Round 1: sc in each st around. (54)
Slime Round 2: *3 sc, ch 5, sl st in the 2nd ch from hook and in the next 3 ch, 3 sc* around. Each chain creates one hanging slime drip. Join and fasten off.
Small potion bubbles
Round 1: 6 sc in MR. (6)
Round 2: inc in each st. (12)
Round 3: sc around. (12)
Round 4: dec x 6. (6)
Stuff lightly, close the opening and make several bubbles in green and purple.
Larger potion bubbles
Round 1: 6 sc in MR. (6)
Round 2: inc around. (12)
Round 3: (1 sc, inc) x 6. (18)
Rounds 4 to 5: sc around. (18)
Round 6: (1 sc, dec) x 6. (12)
Round 7: dec x 6. (6)
Stuff, close and weave in the yarn end.
Finish and decorate the crochet cauldron
- Check the base: place the cauldron on a flat surface and adjust the three feet until the pot stands evenly.
- Secure the handles: sew each handle through several body stitches on both sides so it cannot pull away from the pot.
- Shape the green drips: gently pull each crochet drip downward and spread them around the rim.
- Add potion bubbles: place several purple and green balls inside the cauldron, or use the bowl for wrapped Halloween candy.
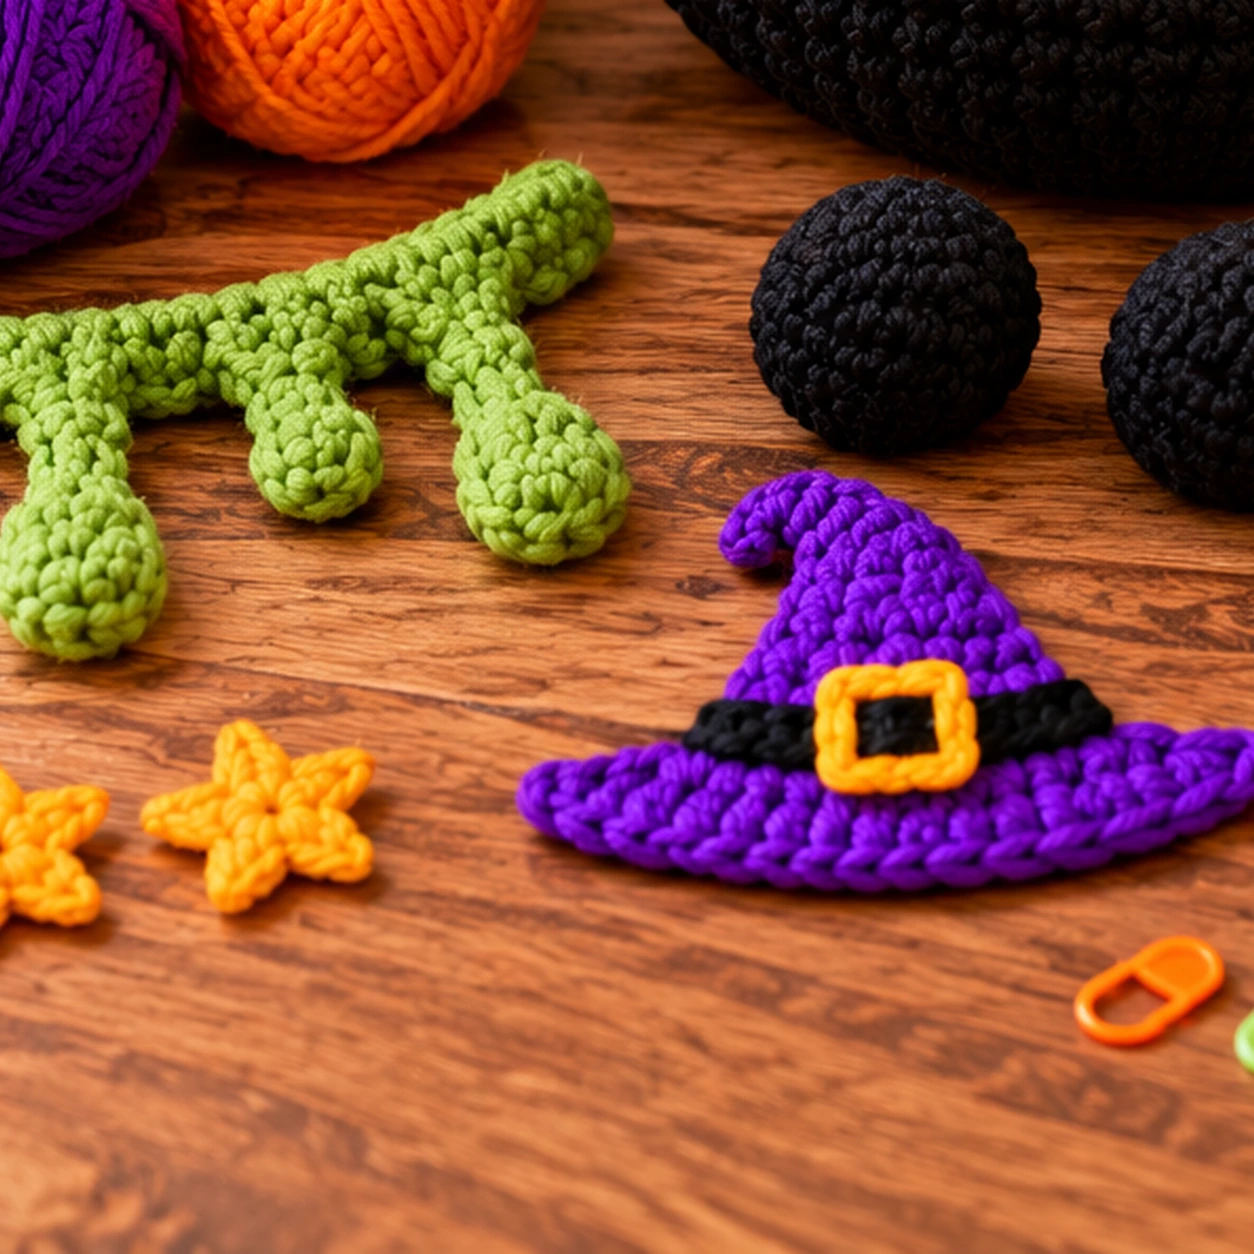
- Add optional decorations: sew on a small purple witch hat, embroidered stars, bones or other Halloween motifs if desired.
Common crochet cauldron mistakes
The base is not flat
Check every increase round before beginning the BLO round. Missing an increase can make the base cup too early.
The pot collapses inward
Use tighter tension or a smaller hook. A firm yarn is more important for this project than exact gauge.
The cauldron rocks on its feet
Pin all three feet first and test the pot on a flat surface before sewing them permanently.
The slime drips twist
Block or gently shape the chain drips with your fingers. Keeping the slip stitches loose also helps each drip hang flat.
More Halloween crochet projects
Frequently asked questions about crochet cauldrons
Is this crochet cauldron pattern suitable for beginners?
It is best for an advanced beginner who already knows single crochet, a magic ring, basic increases and invisible decreases.
Can I use the cauldron as a Halloween candy bowl?
Yes. Use it for lightweight wrapped treats. Keep decorative potion bubbles removable if you want the full opening available for candy.
Can I make the cauldron larger?
Yes. Add more increase rounds to the base before working the BLO round, then continue the side shaping at the larger stitch count.
Do I have to add the green slime?
No. Leave the rim black for a classic witch cauldron, or replace the green trim with purple, orange or another Halloween color.
How can I make the cauldron more rigid?
Use a firm cotton yarn, tighter tension or a smaller hook. You can also place a removable fabric or plastic insert inside if the cauldron is only for decorative use.
Quick pattern to save
- Start with 6 sc in a magic ring and increase to 54 stitches.
- Work one BLO round, then six straight rounds for the lower body.
- Decrease to 48 stitches, then to 42 stitches to round the upper pot.
- Increase back to 54 stitches for the flared cauldron rim.
- Make two loop handles and three lightly stuffed feet.
- Attach the handles and feet securely.
- Add one green single crochet round and chain drips around the rim.
- Finish with removable purple and green potion bubbles or wrapped candy.
Rimraam tip
Before sewing on the feet, fill the cauldron temporarily with a folded towel. The extra weight helps the bowl sit in its natural shape while you test the three foot positions.
A spooky crochet cauldron for Halloween
Fill it with crochet potion bubbles for a shelf display, or remove the bubbles and turn it into a handmade candy bowl for Halloween night.
Note: finished size and yarn use are approximate and can vary with yarn, hook size and tension. Check all sewn pieces before using the cauldron to hold treats.
Helpful crochet cauldron video tutorial
If you want to watch a cauldron take shape before starting, this English-language tutorial from Stitches n Scraps demonstrates a crocheted Halloween cauldron from the base through the upper rounds and finishing options. Its stitch counts are different from the Rimraam pattern above, so follow the written Rimraam instructions for this version.
Video: external English-language tutorial on YouTube. The Rimraam written instructions above remain the main pattern for this project.