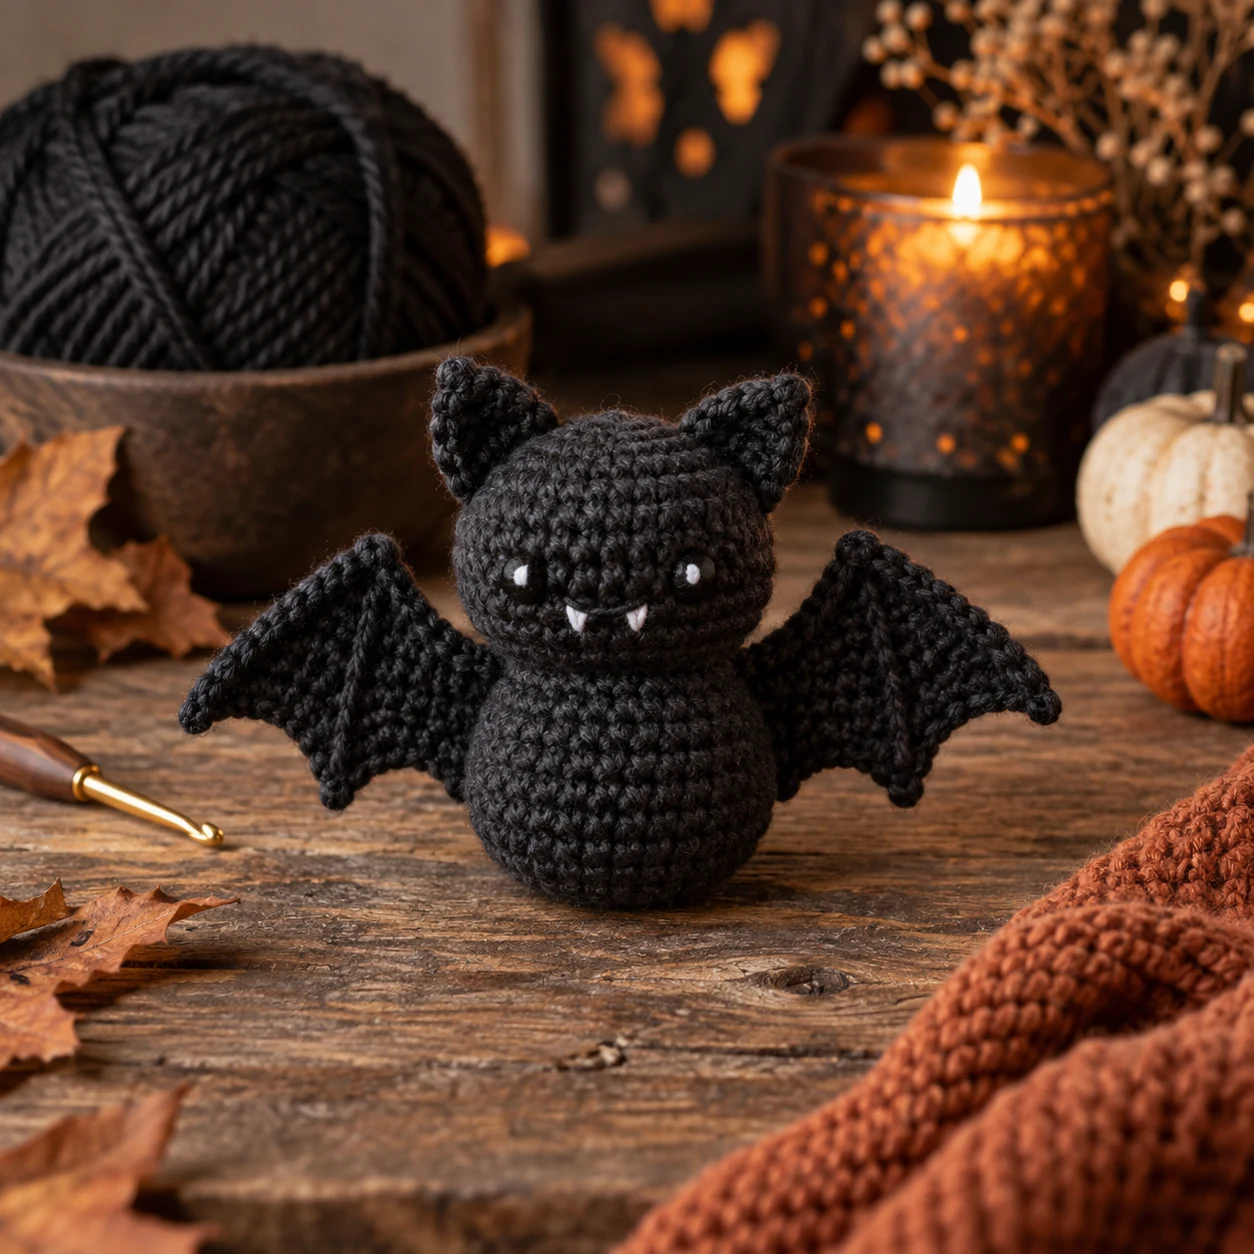
Crochet bat pattern: this small Halloween bat combines a stuffed amigurumi body with two simple flat wings. The body is worked in continuous rounds, the ears are tiny crochet triangles, and the wings use short rows to create a pointed bat shape without complicated stitch combinations.
How do you crochet a simple bat?
Crochet an oval body in continuous single crochet rounds, stuff it lightly, then make two small triangular ears and two flat stepped wings. Sew the ears to the top of the head, attach the straight side of each wing along the body, embroider the face, and add an optional hanging loop between the ears.
The pattern is designed to stay simple enough for a first Halloween amigurumi project. The only shaping techniques you need are basic increases, invisible decreases, and short rows on the wings.
Black and charcoal create a classic bat, while purple, dark plum, dusty pink or orange can make the same pattern feel softer and more playful. A group of small bats also works well for a Halloween shelf, wreath, garland or hanging decoration.
What you will find in this pattern
A simple bat made from four basic parts
The head and body are crocheted as one oval piece. Two small ears are worked flat, and the two wings are made separately in rows before being sewn to the sides.
- ✓ Head and body are one stuffed piece.
- ✓ Two small triangular ears are sewn on top.
- ✓ Each wing is shaped with easy short rows.
- ✓ The face is embroidered, so no safety eyes are required.
Materials for the crochet bat
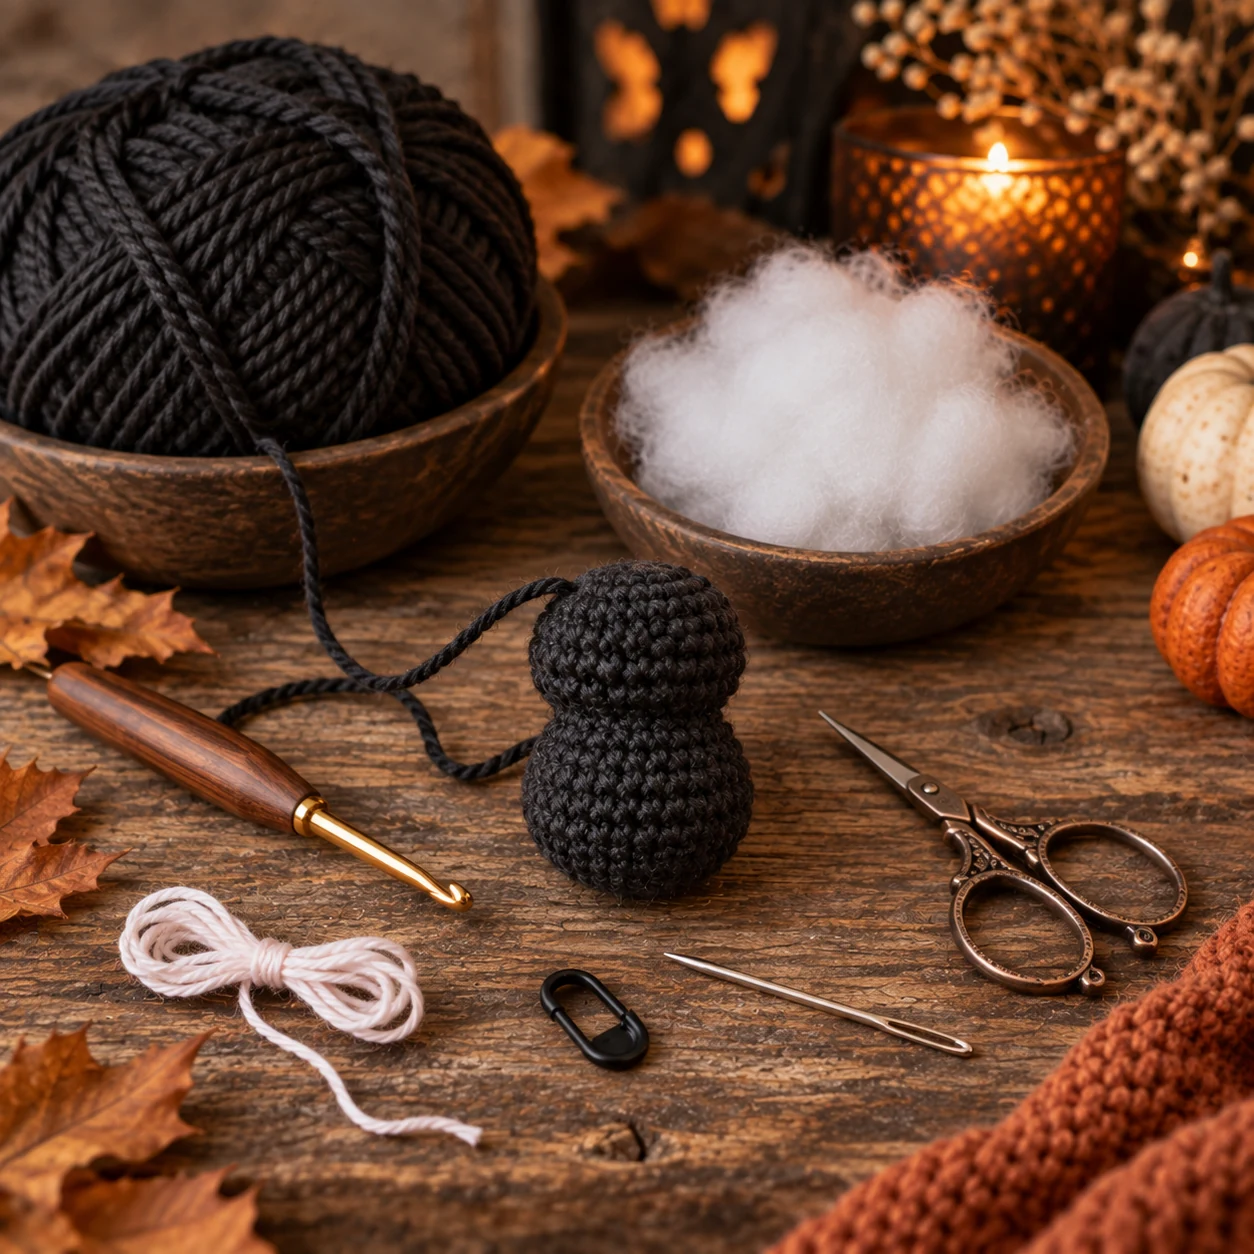
You will need
- 40 to 60 yd (37 to 55 m) medium weight #4 yarn
- small amount of white or pale pink embroidery yarn
- 3.5 mm crochet hook
- polyester fiberfill
- stitch marker
- tapestry needle
- scissors
Which yarn works best?
A smooth acrylic or cotton blend is easy to control and shows the wing edges clearly. Black is traditional, but charcoal or deep purple is often easier to see while you crochet.
Stitches and abbreviations
US crochet terms
- MR = magic ring
- ch = chain
- sc = single crochet
- inc = 2 sc in the same stitch
- dec = single crochet decrease
- sl st = slip stitch
- st / sts = stitch / stitches
Pattern notes
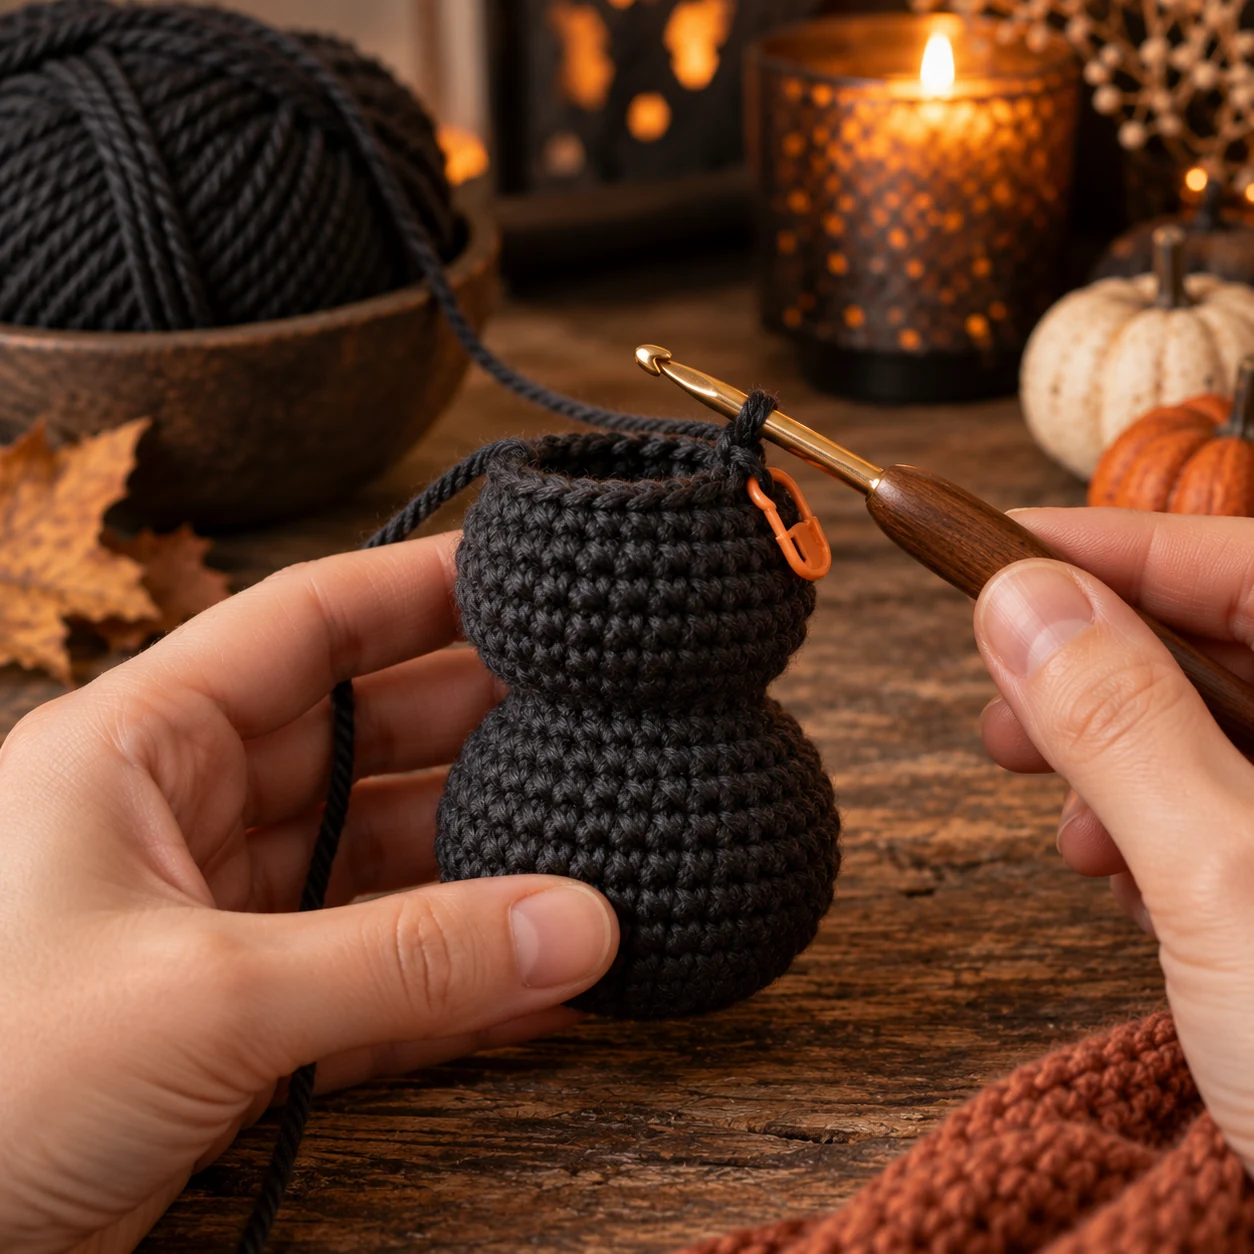
The body is worked in continuous spiral rounds. Do not join at the end of each round. Move the stitch marker to the first stitch of every new round.
The chain 1 at the beginning of wing and ear rows does not count as a stitch.
The abbreviations in this pattern follow standard US crochet terminology. You can also review the Craft Yarn Council crochet abbreviations.
Finished size
Using medium weight #4 yarn and a 3.5 mm hook, the finished bat should measure approximately 3.5 to 4 in (9 to 10 cm) tall and about 7 to 8 in (18 to 20 cm) across the wings.
Gauge is not critical for this decorative project. The important point is to keep the body stitches tight enough that the stuffing stays hidden.
Crochet the head and body
Round 1: 6 sc in MR. (6)
Round 2: inc in each st around. (12)
Round 3: (1 sc, inc) x 6. (18)
Round 4: (2 sc, inc) x 6. (24)
Rounds 5 to 7: sc in each st around. (24)
Round 8: (2 sc, dec) x 6. (18)
Rounds 9 to 10: sc in each st around. (18)
Round 11: (1 sc, dec) x 6. (12). Begin stuffing.
Round 12: dec x 6. (6). Finish stuffing, fasten off and close the opening.
Crochet the ears
Make two matching ears. Each ear is a tiny triangle worked in rows.
Foundation: ch 4.
Row 1: sc in the 2nd ch from the hook and in the next 2 ch. 3 sts. Ch 1, turn.
Row 2: dec over the first 2 sts, sc in the last st. 2 sts. Ch 1, turn.
Row 3: dec over the final 2 sts. Fasten off with a long sewing tail.
Crochet the bat wings
Make two wings. The rows become shorter on one side, which creates the stepped lower edge and a pointed wing tip.
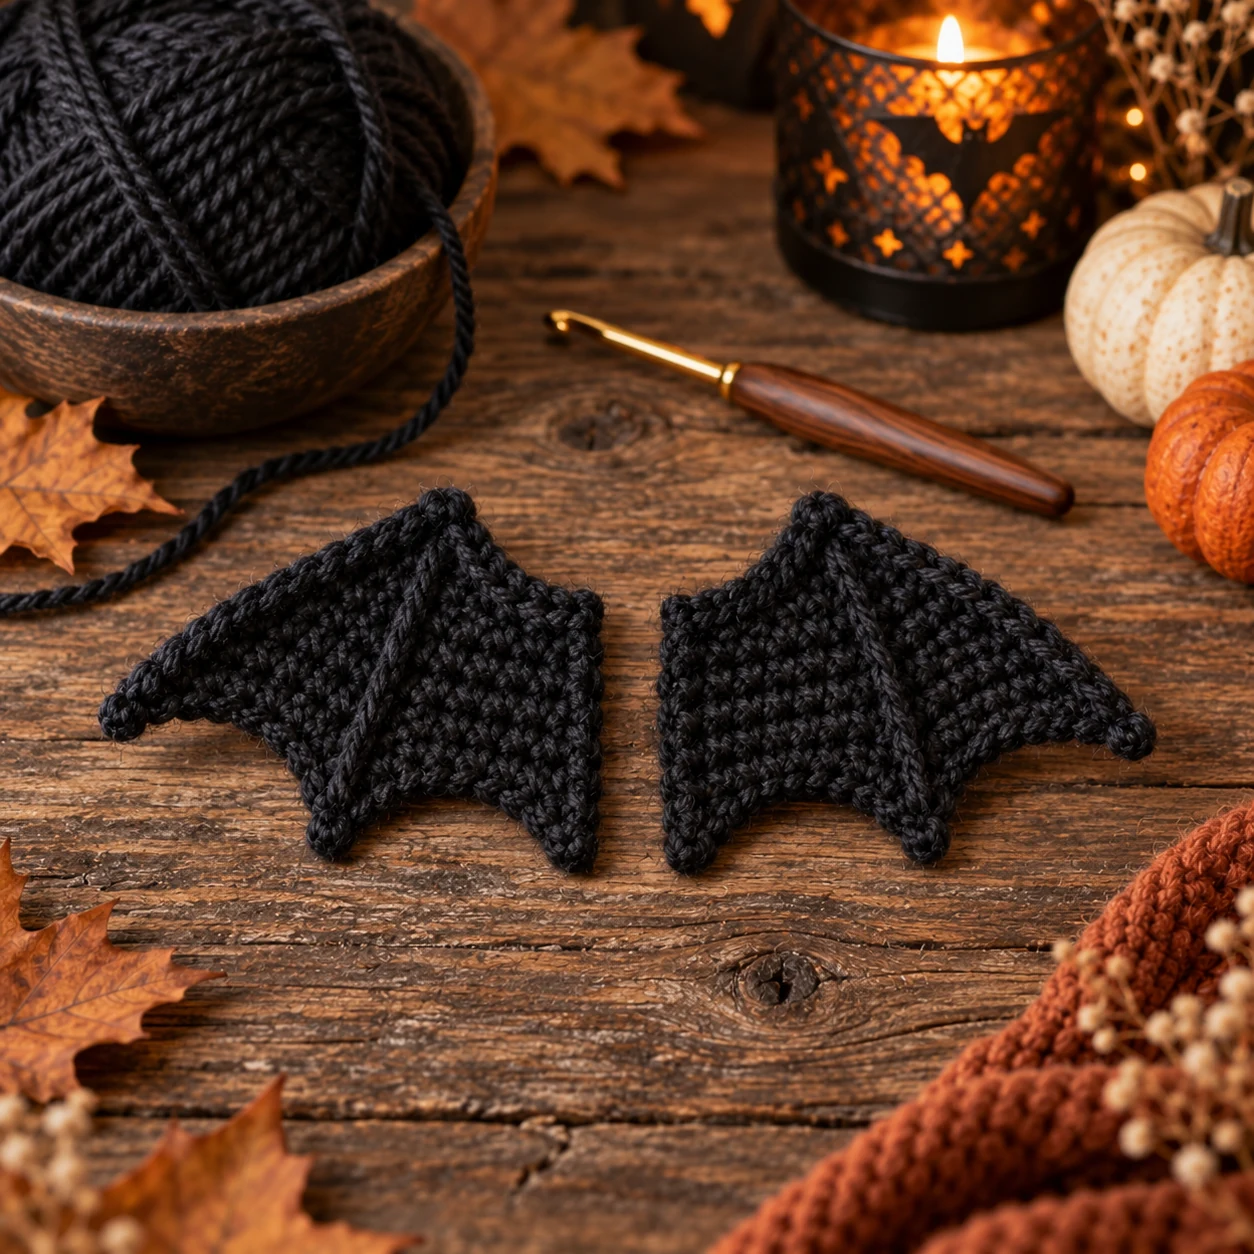
Foundation: ch 12.
Row 1: sc in the 2nd ch from the hook and across. 11 sc. Ch 1, turn.
Row 2: sc in the first 9 sts. Leave 2 sts unworked. Ch 1, turn. 9 sc.
Row 3: sc across. 9 sc. Ch 1, turn.
Row 4: sc in the first 7 sts. Leave 2 sts unworked. Ch 1, turn. 7 sc.
Row 5: sc across. 7 sc. Ch 1, turn.
Row 6: sc in the first 5 sts. Leave 2 sts unworked. Ch 1, turn. 5 sc.
Row 7: sc across. 5 sc. Ch 1, turn.
Row 8: sc in the first 3 sts. Leave 2 sts unworked. Ch 1, turn. 3 sc.
Row 9: sc across. 3 sc. Fasten off, leaving a long tail for sewing.
Assemble the crochet bat
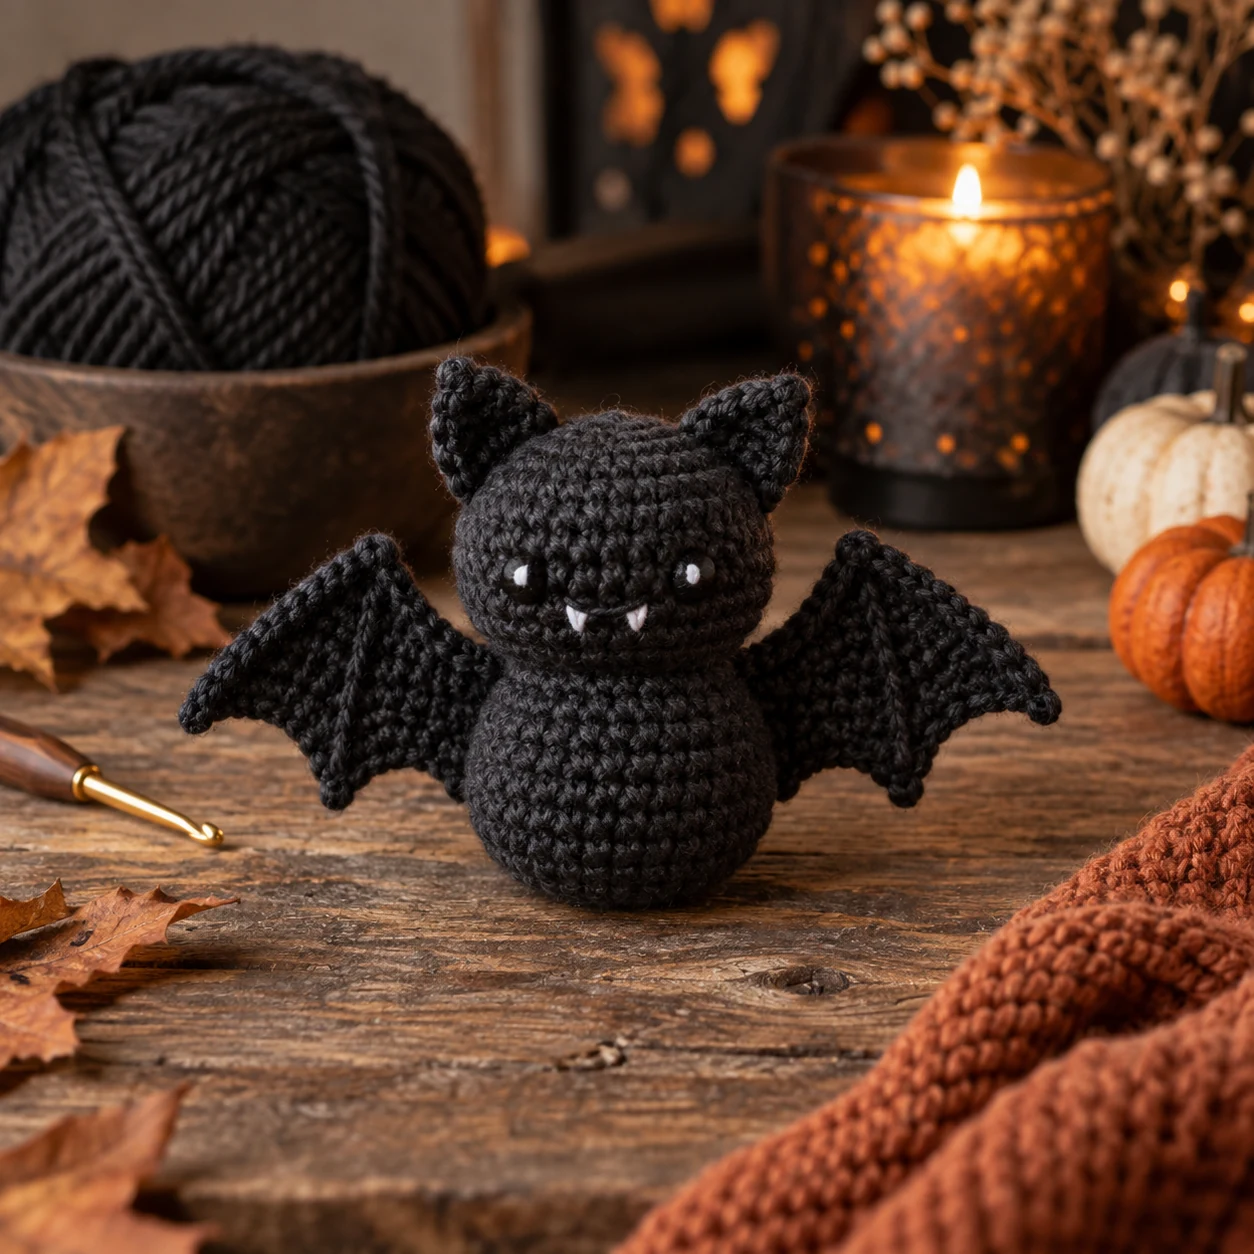
- Attach the ears: sew the foundation edge of each triangle to the top of the head, leaving a small gap between them.
- Attach the wings: sew the straight row-end side of each wing along the body. Check that both wing tips sit at roughly the same height.
- Embroider the face: use white or pale pink yarn to make two small eyes and optional tiny fangs or a smile.
- Add a hanging loop: join yarn between the ears, ch 14, and sl st back into the same point. Fasten off and weave in ends.
Common crochet bat mistakes
The body looks lopsided
Count every increase and decrease round. A missed stitch can quickly change the shape of a small amigurumi piece.
Stuffing shows through
Use a smaller hook or slightly firmer tension. Add fiberfill in small pieces instead of pushing in one large clump.
The two wings look different
Count each row carefully and keep the unworked stitches on the same edge. Lay both wings side by side before sewing.
The wings droop
Sew more of the straight inner edge to the body, or use a firmer yarn. Cotton blends usually hold a flatter wing shape than very soft yarns.
Frequently asked questions about crochet bats
Is this crochet bat pattern suitable for beginners?
It is best for an advanced beginner who already knows single crochet, a magic ring, simple increases and decreases. The wings are worked in basic rows and do not require complicated lace stitches.
Can I make the bat without safety eyes?
Yes. This version uses embroidered facial details, so safety eyes are not required.
Can I use black yarn?
Yes. Black gives the most traditional look. If you find black stitches hard to see, make your first bat in charcoal or purple.
Why are the wings worked in short rows?
Leaving two stitches unworked every second row creates a stepped lower edge and narrows the wing toward the tip.
Can I hang the finished bat?
Yes. Add the optional chain loop between the ears and use the bat as a Halloween ornament, wreath decoration or garland piece.
Quick pattern to save
- Body: 6 sc in MR.
- Increase to 12, 18 and 24 sts.
- Work 3 even rounds at 24 sts.
- Decrease to 18 sts and work 2 even rounds.
- Decrease to 12 sts, stuff, then close at 6 sts.
- Make two 3-row triangle ears.
- Make two 9-row short-row wings.
- Sew ears and wings in place and embroider the face.
Rimraam tip
Before sewing, pin both wings to the body and look at the bat from the front. Small changes in wing height make a big difference, so adjust the position until both sides feel balanced.
A small Halloween bat for your next crochet session
One small body, two ears and two easy wings are all you need to turn a little yarn into a Halloween decoration you can make again in different colors.
Note: finished size, yarn use and working time are approximate and can vary with yarn, hook size and tension. This Rimraam pattern is editorially developed and should be checked on a sample before publication if exact finished measurements are important.
Helpful crochet bat video tutorial
If you want to watch the general amigurumi bat construction, this English tutorial from Brunaticality shows a crocheted bat with a head, body, ears and separate wings. The construction is useful as a visual reference, although the stitch counts are different from the Rimraam pattern above.
Video: external English-language tutorial on YouTube. The Rimraam written instructions above remain the main pattern for this project.
1 thought on “Easy Crochet Bat Pattern for Halloween”